MyPhoto is looking pretty bare right now, so let’s take a look at integrating some Bootstrap components into our sections. First, ensure that as per the setup instructions in Chapter 1, Revving up Bootstrap, you have added Bootstrap’s JavaScript library and its dependency, jQuery:
<script src=”node_modules/jquery/dist/jquery.min.js”></script>
<script src=”node_modules/bootstrap/dist/js/bootstrap.min.js”>
</script>
1. Jumbotron
The first component we will integrate is Bootstrap’s jumbotron.
The jumbotron component is essentially a very simple visual cue that helps draw attention to certain content. It is generally used as a splash to offer immediate information to the user. That is exactly what we will be doing with it.
In the Welcome section of our page, nest a jumbotron element into the container element:
<div class=”container-fluid myphoto-section bg-myphoto-light”>
<div class=”container”>
<div class=”jumbotron”>
<h1>Welcome to MyPhoto</h1>
<p>Photographs you can cherish!</p>
</div>
</div>
</div>
We have nested a container element in the container-fluid Welcome element. We do this so that our content is centered within the section, allowing for gutter space on the left and right. Within that container, we add a jumbotron element. The jumbotron class simply gives its element a hero-banner type style to attract the eye. The jumbotron itself acts in a similar way to a container, encompassing its own content. Here, we add a header and a paragraph to provide some context to the user. Take a look at the following screenshot:
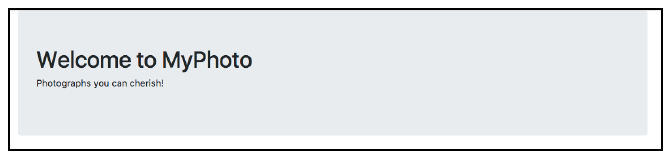
Figure 3.4: The Bootstrap jumbotron class to create a banner welcoming the user to MyPhoto (example04.html)
Oh, not great. The jumbotron has worked as expected, but it is not grabbing our attention as we would hope against a light background. Being a photographer’s page, maybe we should add some pictorial content here? We can use jumbotron to display a hero-image. Add a new class to myphoto.css:
.jumbotron-welcome {
background-image: url(‘/images/skyline.png’);
background-size: cover;
color: white;
}
This class will simply apply a background image and a light font color to an element. Apply the class to our jumbotron element:
<div class=”jumbotron jumbotron-welcome”>
Take a look at figure 3.5:
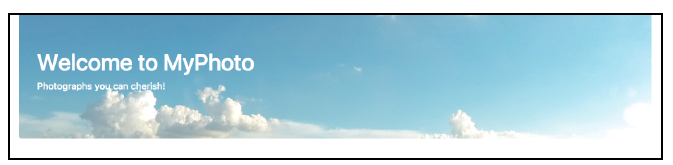
Figure 3.5: Using Sao Paulo’s skyline as a background image for MyPhoto’s welcome banner (example05.html)
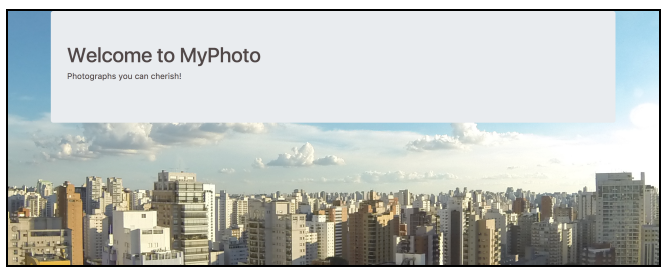
Pretty nice. Let’s flip that and apply the background image to the Welcome section container element, removing the bg-myphoto-light class. Add the following class to myphoto.css:
.bg-myphoto-welcome {
background-image: url(‘/images/skyline.png’);
background-size: cover; color: #504747;
}
Then, update the Welcome section to the following:
<div class=”container-fluid myphoto-section bg-myphoto-welcome”>
<div class=”container”>
<div class=”jumbotron”>
<h1>Welcome to MyPhoto</h1>
<p>Photographs you can cherish!</p>
</div>
</div>
</div>
Our new class again applies the background image. It also applies a dark font color, which will be inherited by the jumbotron. We have removed the jumbotron-welcome class from the jumbotron element.
Excellent! We have added some photographic content and our jumbotron attracts attention; refer to figure 3.6:
Source: Jakobus Benjamin, Marah Jason (2018), Mastering Bootstrap 4: Master the latest version of Bootstrap 4 to build highly customized responsive web apps, Packt Publishing; 2nd Revised edition.