This article show you how to add a post in WordPress – the most important job for your website. In fact, after logging in the WordPress admin area, you can add a new Post from several locations on any admin screen:
- The Add New link on the main admin menu under Posts (Figure 1, item 1)
- The drop-down menu near the top left of the Toolbar (Figure 1, item 2) And from two additional locations on the Dashboard screen:
- The Welcome to WordPress box (Figure 1, item 3)
- The Quick Draft box (Figure 1, item 4)
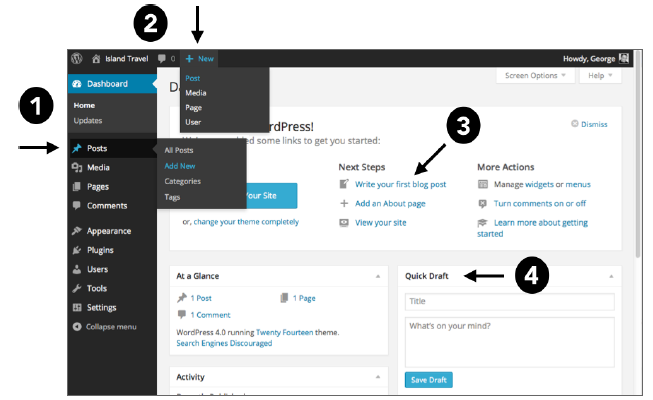
FIGURE 1

FIGURE 2
Any of these links take you to the Add New Post screen, the default version, as shown in Figure 2, along with a sample web page to show the relationship between the front end and back end. There are a number of other meta boxes for this screen, but to help keep things uncrowded, WordPress hides them by default. You can display them using Screen Options.
The default version of the Add New Post screen in mobile browsers is simply the same meta boxes in a single column of various widths, depending on the device. Figure 3 shows the full column as it displays on a smartphone.
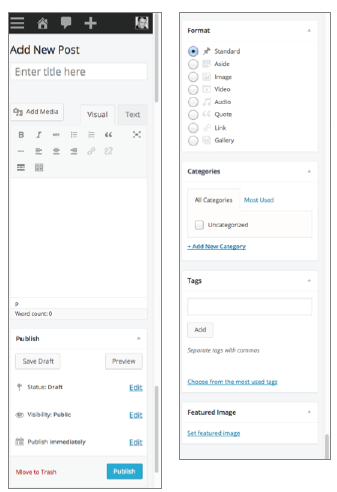
FIGURE 3
The following steps are the only ones required to publish a post and have it show on your website.
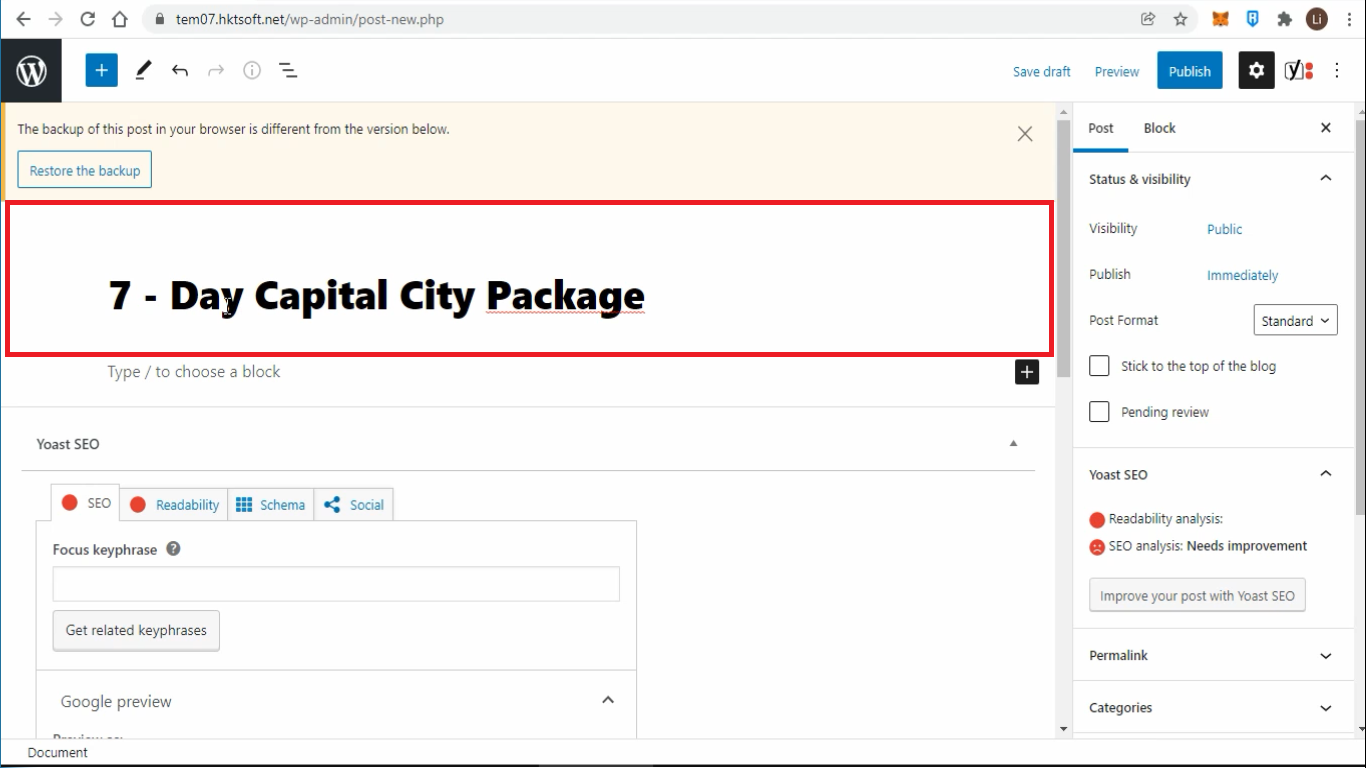
1. Title
The first block of every post or page is the title. You can use the mouse to move below the title or press the tab key on your keyboard to move the cursor down and start writing. In this example I’m writing about a vacation package to Kingston, Jamaica, so I entered the title 7-Day Capital City Package.
2. Content
By default, the next block is a paragraph block. This allows users to start writing right away.
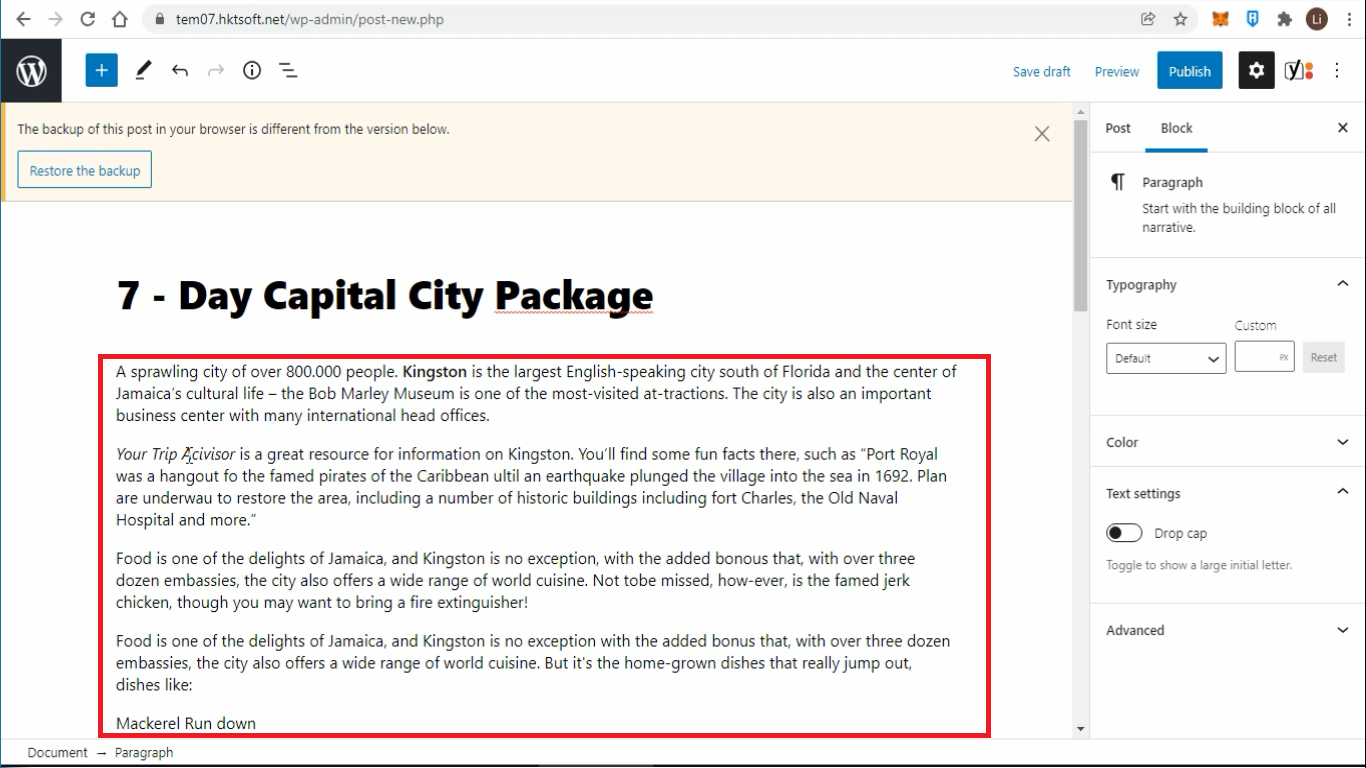
You can do your writing in the Content Editor or you can paste in text you’ve written elsewhere, such as a Word document. WordPress will try to maintain any basic formatting that’s in the document you’re pasting from (bold, italic, lists, and so on). For a well formatted text, please see Working and formatting with Text in WordPress.
3. Categories
Because you’re creating a Post, WordPress requires you to place it in at least one Category, using the meta box. You won’t need this step when creating a Page in WordPress because there are no categories for Pages.
You can see that there’s already a Category in WordPress called Uncategorized, which is the default category. That means, if you don’t choose at least one Category for your post, WordPress automatically places it in the default. This is why it’s important to either change the name or create new catego-ries and remember to place Posts in them.

If a Category does not already exist, you can add one from the Categories meta box. Simply click the Add New Category link, and it drops down the area shown at the bottom.
You enter the name, click Add New Category, and it immediately appears at the top of the categories list, with the box beside it checked.

Now you could simply leave this post under Packages, it’s better to separate out packages by their destination. This means you need a subcategory or child category of Packages called Jamaica Packages.
First, uncheck Packages. Next, enter your new category title in the field, and then drop down the menu called Parent Category. Choose Packages and click Add New Category.

You can see Jamaica Packages with the checked box beside. The Categories meta box displays categories in alphabetical order, with child categories grouped below their parent and indented, but the categories chosen for a Post displays out of sequence at the top of the list.
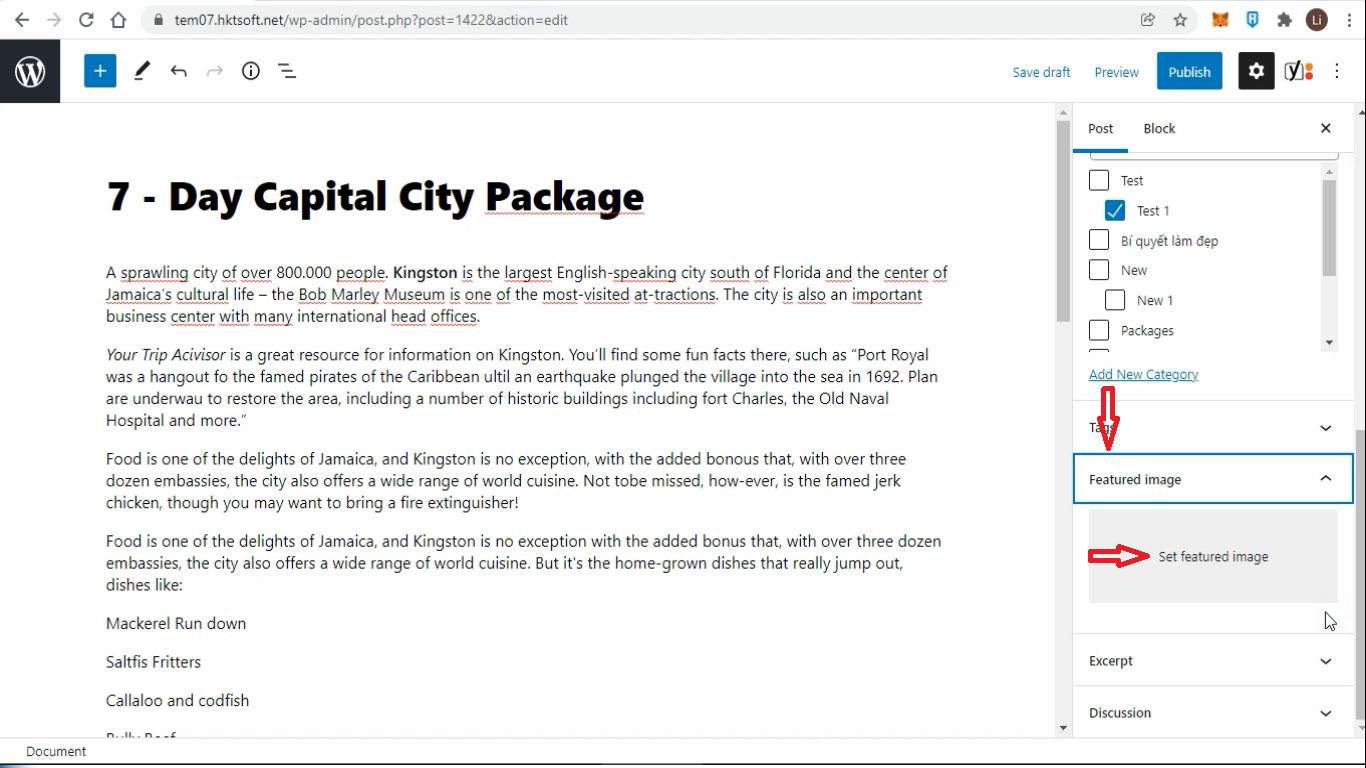
4. Featured Image
Technically, this step isn’t necessary for publishing a Post, but so many themes use the Featured Image for displaying posts in various ways that it’s good to get in the habit of setting one.
You can find the Featured Image on the right block of the screen.
When you click Set Featured Image, the pop-up window displays.
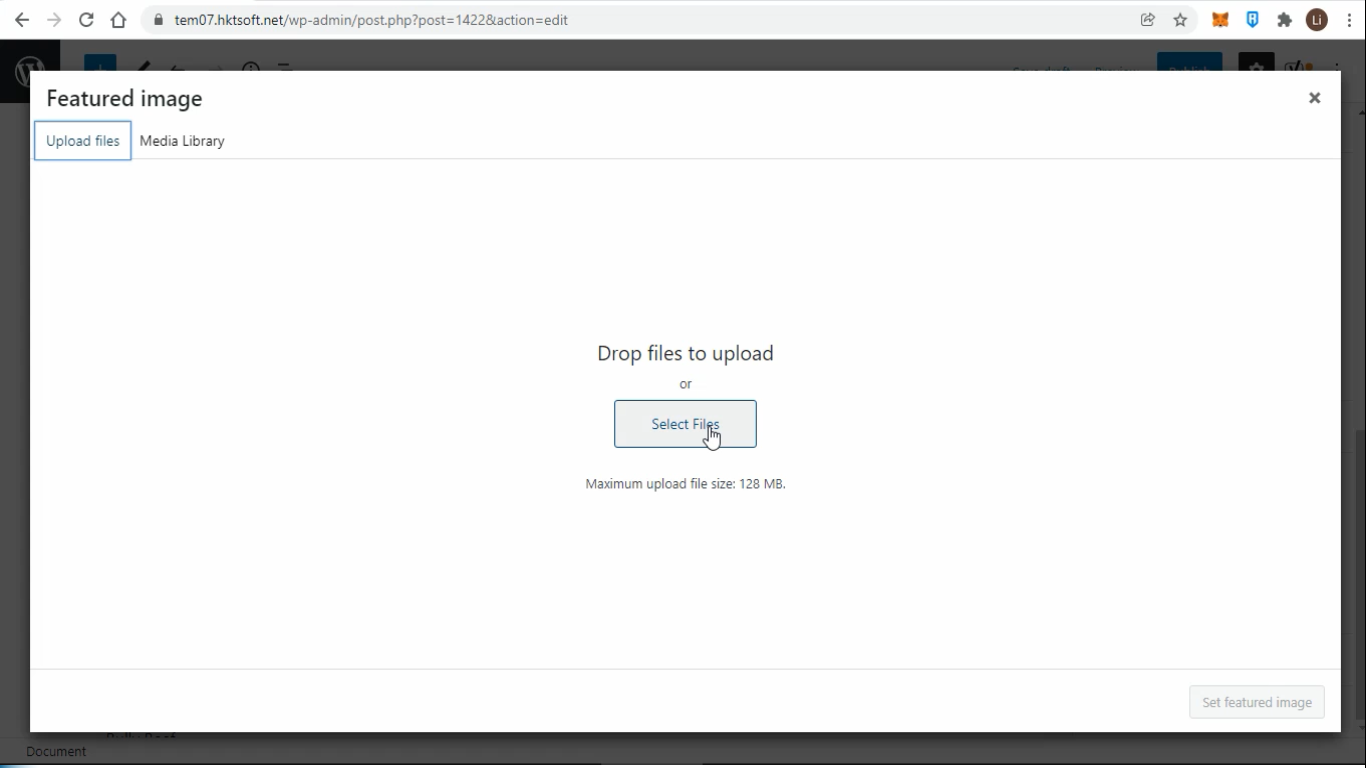
By default, this window shows all the images in your Media Library, but because you haven’t uploaded anything yet, it’s showing the Select Files option to browse your computer or mobile device. When there’s something in the Media Library, you need to click the Upload Files tab at the top left. You can also drag and drop to the upload area.
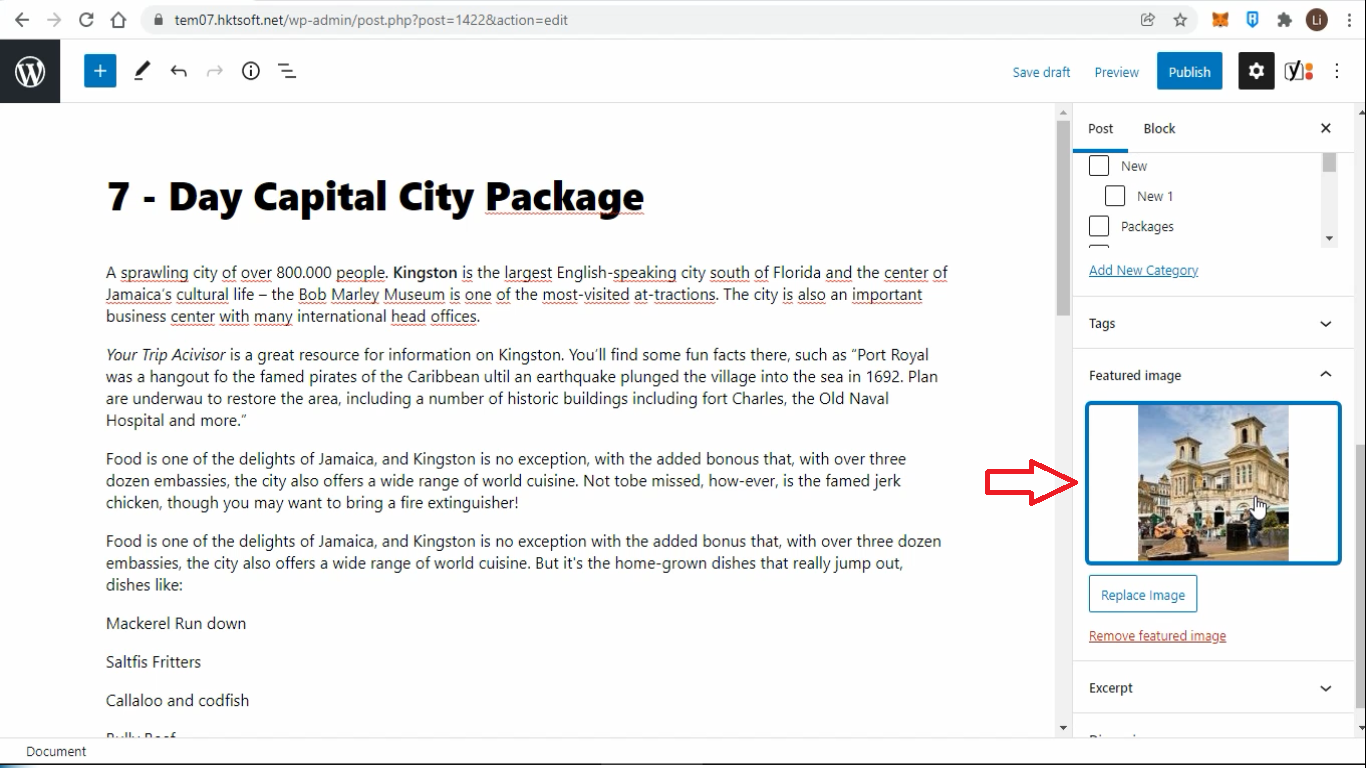
After an image uploads, it displays both in the media library listing and on the right.

Until an image has been chosen, which is indicated by the blue check mark and shown in the gray area on the right, the blue Set Featured Image button at the lower right stays dim and cannot be clicked. When you have selected an image, click that button and the pop-up window disappears. You see a thumbnail version of your image in the Featured Image box.
And now you’re ready to publish your Post for the world to see.
5. Publish
At the top right of the Add New Post screen is the Publish box.
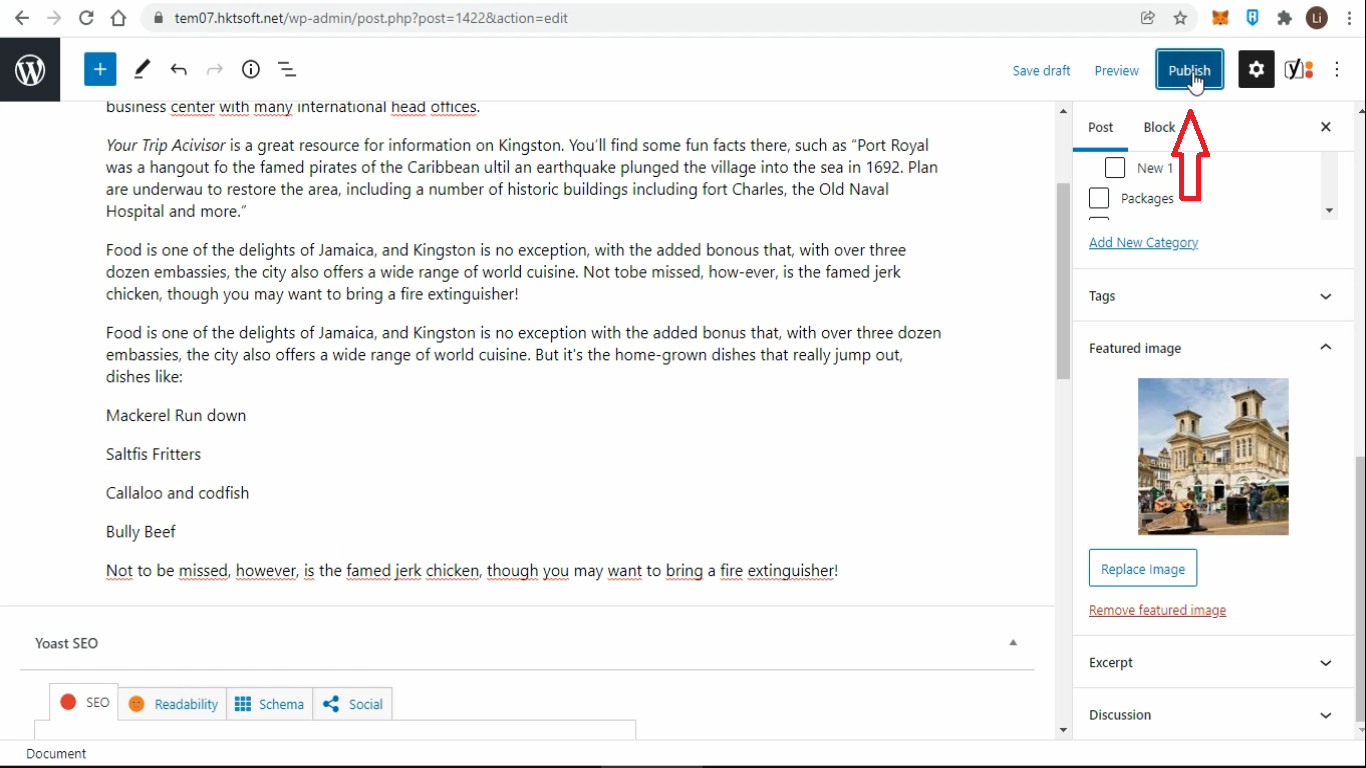
For now, all you need to know is that if you click the Publish button, your Post will be live on your website for the world to see. So do that now.
In the success message area, there’s a View Post link. Click it to view your handiwork.

6. A Rant Before Moving On
After you’ve been working on content and publishing to your site, I urge you to get in the habit of doing the following:
- Always click Update (or Save Draft) before leaving a screen.
- Don’t try to remember if you did. Even a successful update message at the top of a screen may have happened before you made additional changes. Don’t think, just click Update.
I’ve had people tell me that the You Have Unsaved Changes warning or the Auto-Save feature make my ranting unnecessary. To which I reply, I’ve seen people ignore the warning or leave before Auto-Save has had a chance to work.
It costs you nothing to click Update before leaving a screen, and it costs you time, embarrassment, or worse to miss saving a change, so why wouldn’t you always click Update?