This article will cover the simple steps that are required to set up Facebook Messenger Plugin on a WordPress Website. It is a great tool to manage customer queries. Advertisers are now shifting from manual chat plugins to automated chatbots where customer queries are responded systematically. I will cover the importance of Chatbots in a separate article. For now; let’s stick with the steps for installing Facebook Messenger chat plugin on a WordPress Website.
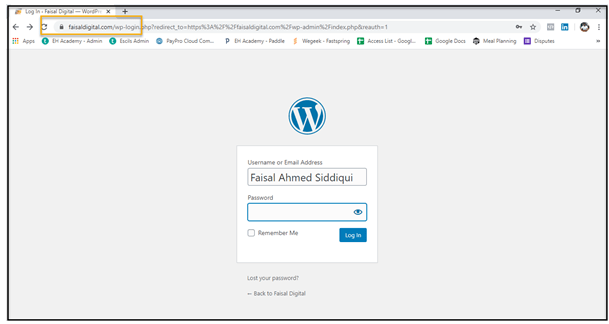
Step 1 – The first step is to login on WordPress website through the admin area.
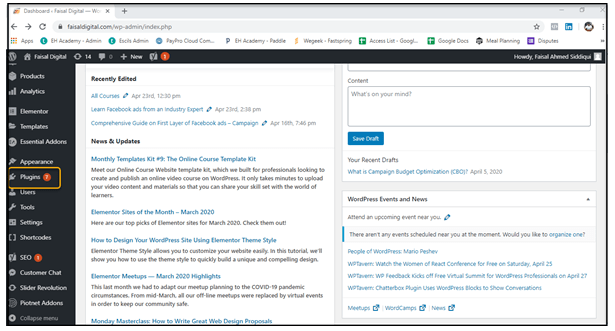
Step 2– Once the login is done; click on the plugins button on the left hand side.
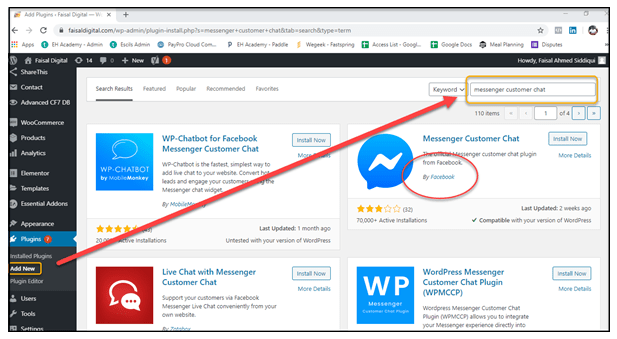
Step 3– Click on “ADD NEW” below the plugin button. On the right hand side type Keyword “Messenger Customer Chat” to fetch details of the official Facebook Chat Plugin.
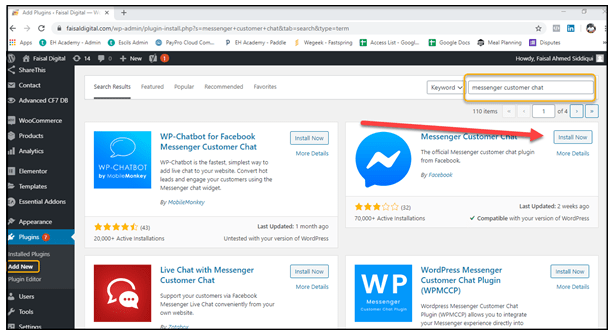
Step 4 – After identifying the Official Facebook Chat Plugin simply click on Install Now. After installation activate the plugin
Step 5. After installation & Activation a Customer Chat Button will appear on the left hand side of WordPress admin area; just below the Plugin button. Click on the button to navigate on chat windows. Go to “edit customer chat” option for starting the plugin setup.

Step 6. A customer Chat Setup window will appear where Facebook Page will be selected.
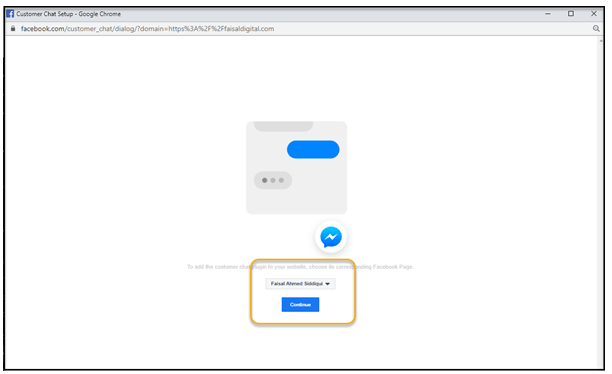
Step 7. After selecting the page, the user will be navigated to the next screen where the option of messenger language is selected.
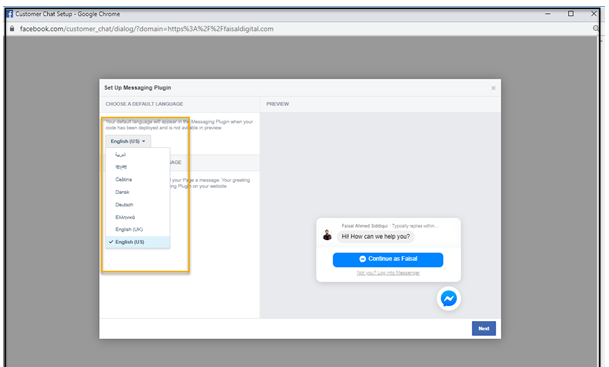
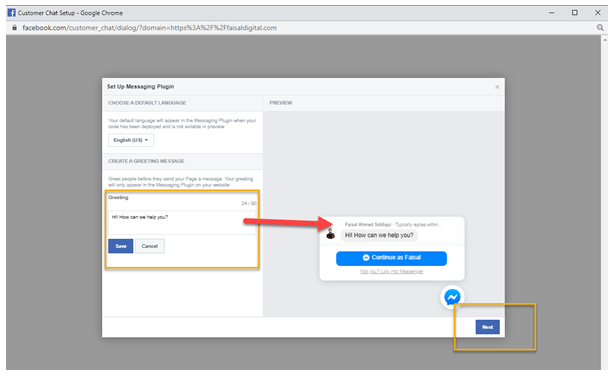
Step 8. Below chat language there is an option of Greeting. The message of greeting can be easily modified if required. Just click on Next after selecting the language & greeting message.
Step 9. Appearance window will appear where the plugin appearance can be modified as per website color or individual preference. This is the last step of setting up the chat plugin. Once the appearance is selected click on the “NEXT” button.
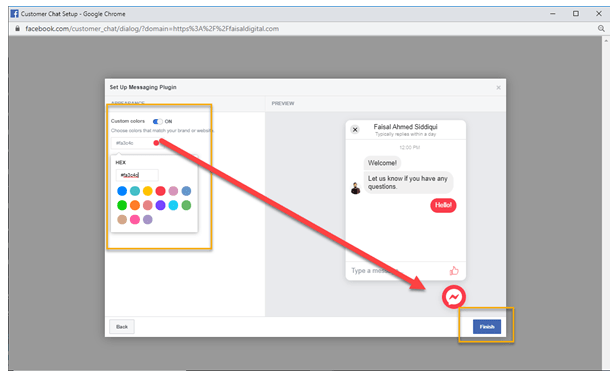
Step 10. After following all the setup options. The chat plugin will appear on the WordPress website.

