Most hosting companies offer some form of automatic WordPress installation. In a few cases, this means that they’ll actually do the installation for you, but mostly it means that they have a program that you use to do the auto-install.
In this guide, for example, we’ll install WordPress in just a few clicks with IONOS web hosting. You’ll need to create an IONOS account and add a hosting package if you don’t have one already. You can choose one of their WordPress hosting packages or one of their Web hosting packages. The hosting packages include a domain name for one year, but you can skip registering a domain name if you have one already.
Before starting the WordPress installation wizard, decide on the domain or subdomain name that you want to use for the WordPress application. Create your subdomain if you haven’t already. If your domain name is registered with a registrar other than IONOS, connect it to your IONOS account. In the ‘Domains & SSL’ section of your IONOS account, check that your domain name is on your hosting package. If it isn’t, you can move it to your hosting package.
After adding the hosting package to your IONOS account, we can start installing WordPress. Go to ‘Websites & Shops’ from the main menu. Under ‘Create a New Website’, click the ‘Select Website’ button.
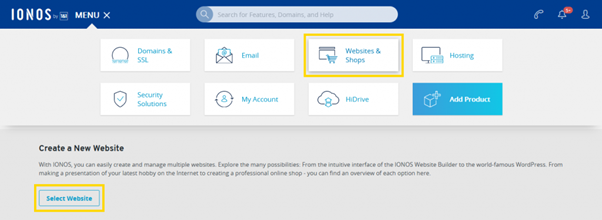
Starting a new IONOS hosted website.
Choose WordPress from the list of available project types.
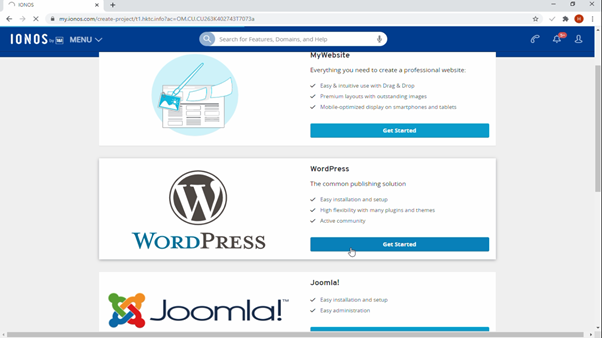
Select WordPress from the list of project types.
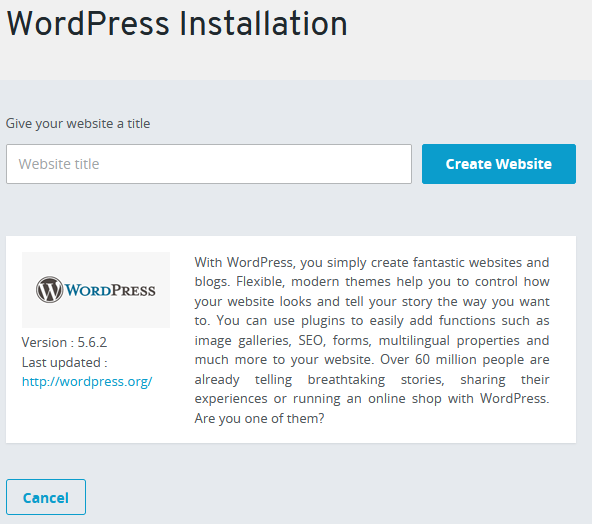
Enter a name for your website and click ‘Create Website’.
Next, enter a username and password for the WordPress admin account.
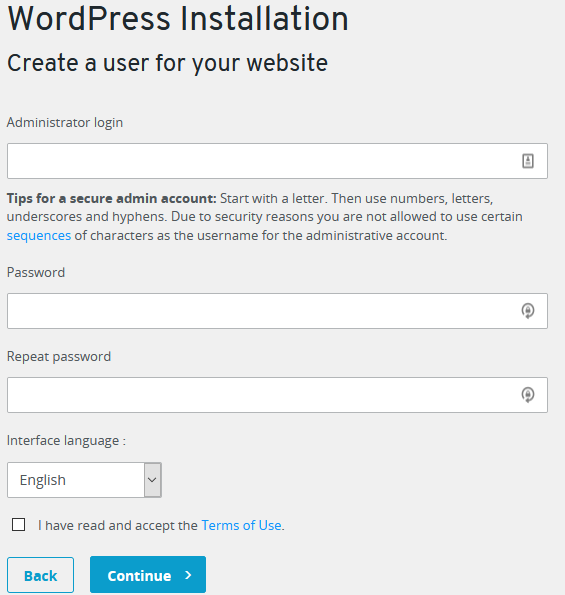
Set the WordPress admin login name and password.
Now we can select the type of WordPress installation, managed or standard. We’re going to go with standard since not all plugins and customisations to the WordPress installation are possible with the managed version. The standard version of WordPress can still automatically update plugins, themes and WordPress itself.
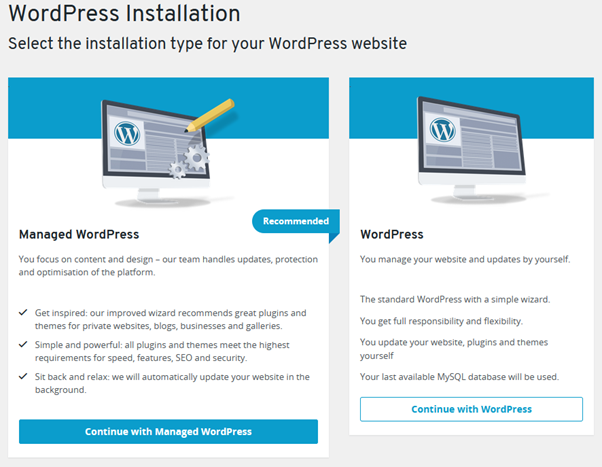
Selected ‘Continue with WordPress’ to install standard rather than managed WordPress.
Next, select the domain name to use.
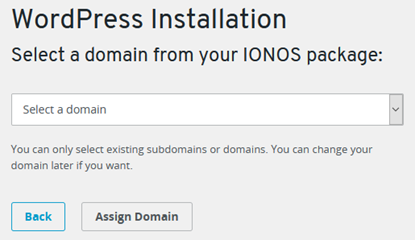
If your domain name isn’t appearing in the list, it may not be added to your WordPress hosting contract. If you go to the ‘Domains & SSL’ section of your IONOS account and select your domain name you can see which contract the domain name is on. There may be an option here to ‘Transfer Domain to Another Contract.’ If your domain name is an external one (with another registrar) that you’ve added to IONOS, you may need to remove the domain and choose your WordPress contract in the Contract Selection dialogue when re-adding the domain.
After selecting a domain, wait for the WordPress installation to complete.