Visitor engagement is one of the keys to the success of any website. And one of the most personalized ways to achieve that engagement is through live chats with visitors. Today, I’ll talk about using the Tidio Live Chat plugin to add a live chat feature to your site. If you’ve used a WordPress chat plugin before and were unhappy with the results, stay tuned. Tidio may change your mind.
Chat is a crucial element of eCommerce sites, whether you’re answering questions live or using a chatbot to engage visitors. Your potential (and existing) customers have come to expect the instant contact and answers live chat provides.
You’ve put your time and energy into building your site and attracting visitors. That’s the first step. Now it’s time to think about ways to keep them coming back. Being responsive and engaging is the key to that retention.
I mentioned that some of the early WordPress live chat plugins left a lot to be desired. But times and technology have changed, and live chat is easier and better than ever.
1. Installing the Tidio Live Chat Plugin
Log in to your WordPress admin panel.
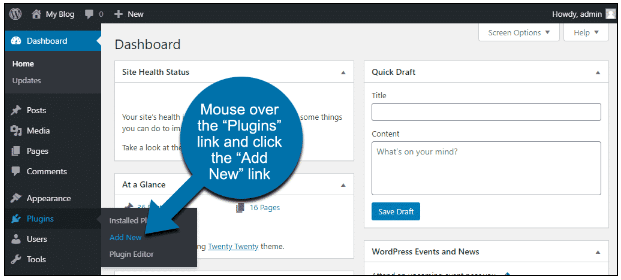
In the left column navigation, mouse over the “Plugins” link and click the “Add New” link.
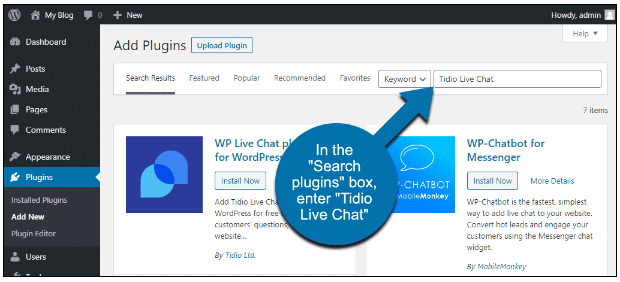
In the “Search plugins…” box, enter, “Tidio Live Chat.”
When you find the plugin, click the “Install Now” button.

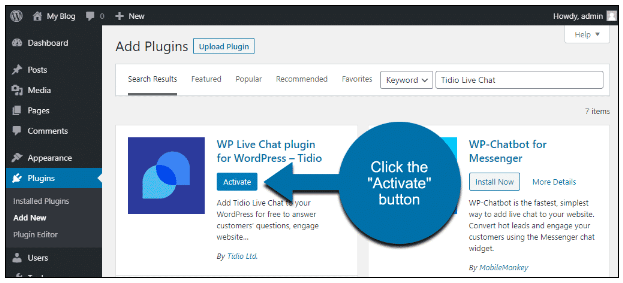
Now the plugin is installed, but it has to be activated before you can use it.
Click the “Activate” button.
That’s all there is to it. Now let’s put the plugin to work.
2. Configuring Tidio Live Chat
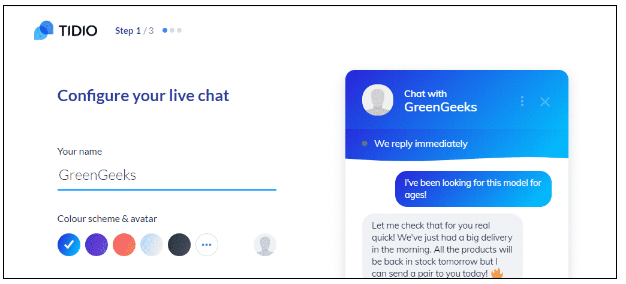
To use the plugin, you have to set up an account at Tidio. After installation, you’ll be brought to a page where you enter your email address.

When you click the “Let’s go” button, you’ll be taken to the Tidio website.
Continue providing the required information to complete the set up of your account.
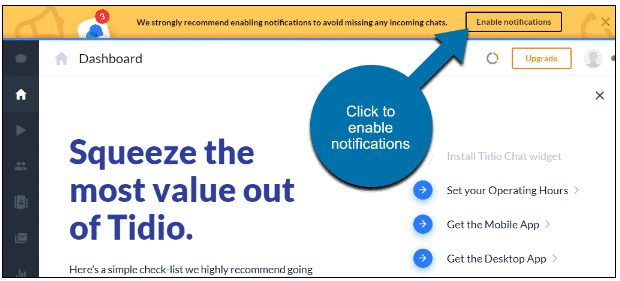
When you finish the Tidio chat account setup, you’ll see a button to “Enable notifications.” Click that if you want to receive desktop notifications when there’s a new chat.
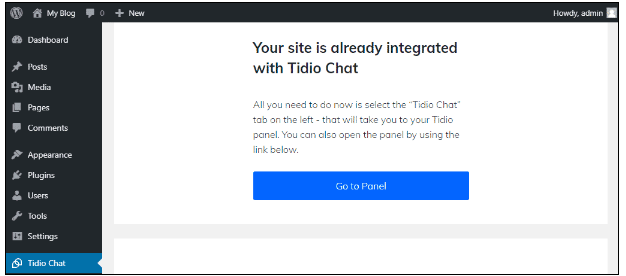
When you go back to WordPress, you should see a message verifying that the integration was successful.
Now go back to your site, and you’ll see the chat window.
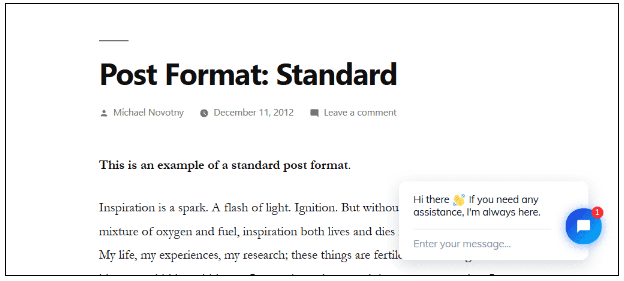
The chat prompt appears on every page of your site, posts, pages, and your home page.
3. How Does Live Chat Work?
The plugin configuration and your side of the chats take place on the Tidio website. Not in your WordPress admin panel.
At first, it may seem inconvenient to have to be logged in and connected to another site to perform chats. But it’s typical of most live chat programs, and once you establish a workflow, you’ll hardly notice it.
And the fact that the chat application doesn’t live on your site is actually a good thing. It takes most of the processing burden off of your site (and your web host). This means it won’t ultimately slow down your website.
4. Using Tidio Live Chat
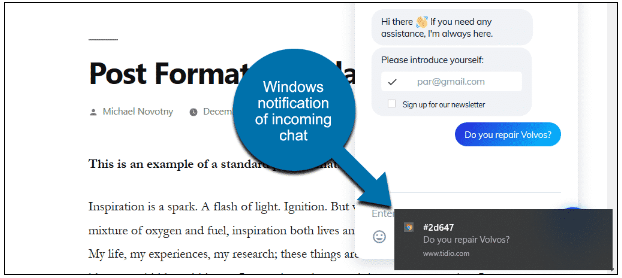
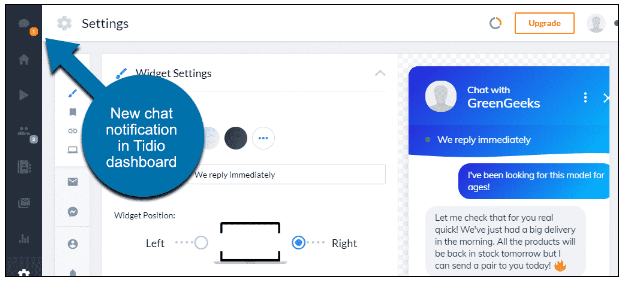
If you enabled notifications, you’ll get a message when a new chat starts. Clicking the notification will take you to the chat.
If you don’t use notifications or happen to miss one, there’s an indicator of active chats on the Tidio website.
Click the icon, and the active chats will be listed.
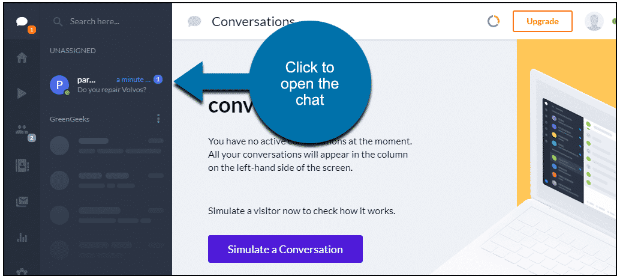
Click a chat to interact with your visitor.
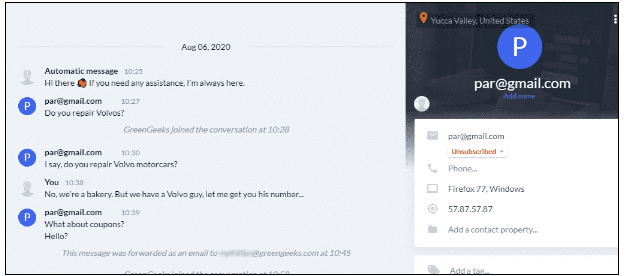
In addition to the chat contents, you can see visitor information on the right.
The location information is based on IP address geolocation. While it’s generally accurate, you may not want to rely on it if you need to know the visitor’s location. VPNs are a popular thing, nowadays.
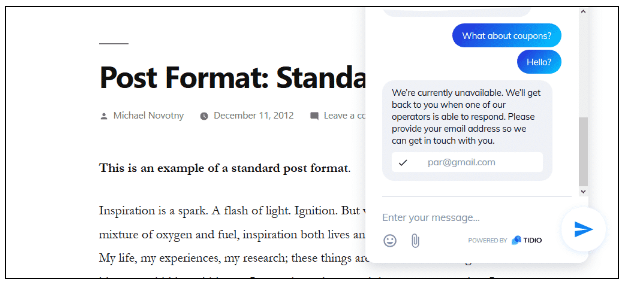
On the visitor’s side, the chat looks like this.
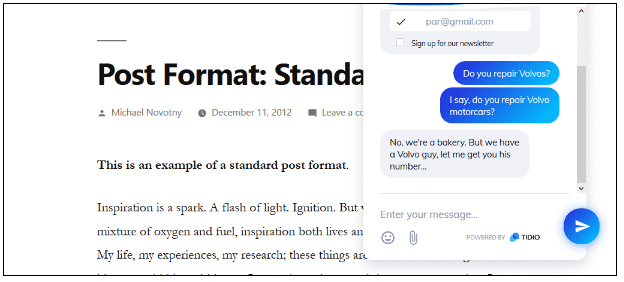
If you’re offline (or logged out of tidio.com), the chat window lets the visitor leave a message.
5. Some Useful Advanced Configuration
I can’t go into detail on every available setting for the Tidio chat control plugin. You’ll certainly want to explore, as there are a lot of options. Here are a few that may be useful as you get started.
5.1. Pre-Chat Survey
You may have noticed that the example chat here required the visitor to provide their email address. That’s the default setup, and it’s great to have that information.
But your visitors may not want to provide their email addresses, and that could prevent them from asking a question. So let’s take a look at what we need to do to remove that requirement.
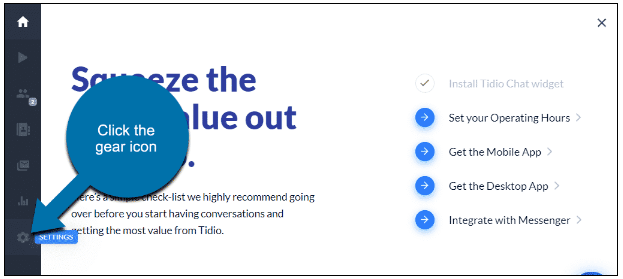
In the Tidio dashboard, click the gear icon to access settings.
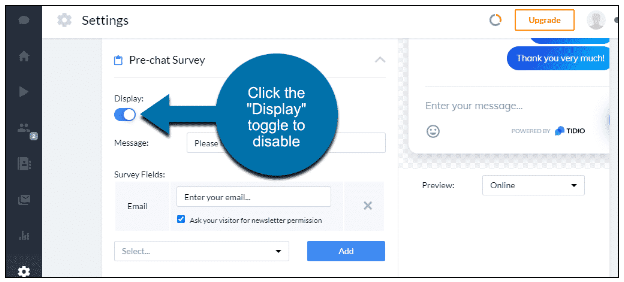
Scroll down and expand the “Pre-chat Survey” section.
You can disable the pre-chat requirements completely by clicking the “Display” toggle.
Or you can remove the email requirement by clicking the X to the right of the email survey field.
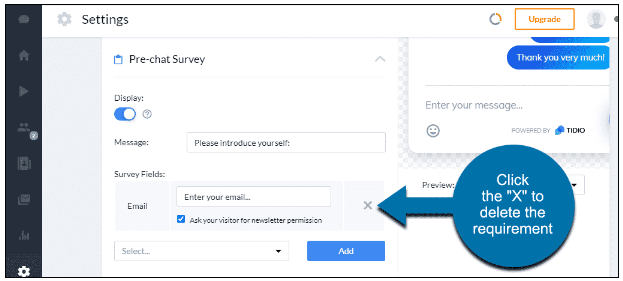
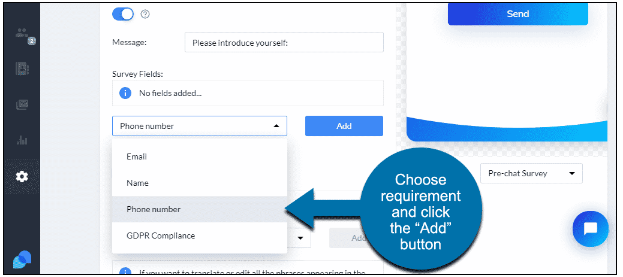
There are options to require email, name, phone number, and GDPR compliance. To add one of those requirements, select it from the drop-down menu and click the “Add” button.
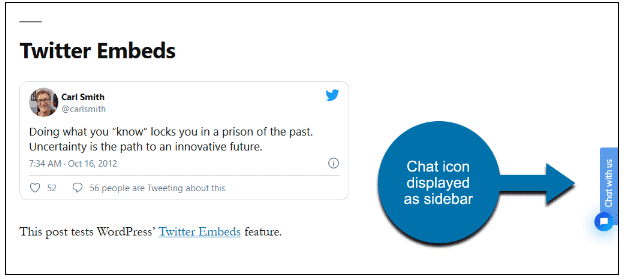
5.2. Changing the Chat Icon to a Sidebar
The default chat icon hovers in the bottom right or left corner of the page. If that’s covering part of your content, you can change it to a sidebar link.
Here’s how to do it.
In the Tidio dashboard, click the gear icon to access settings.
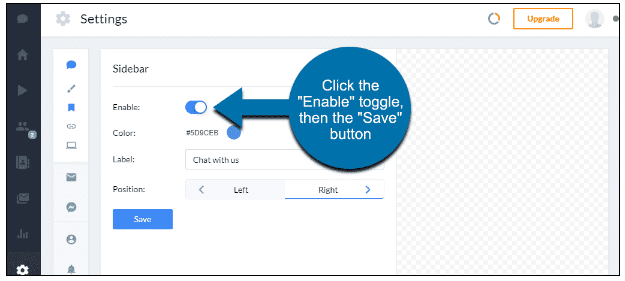
Click the “Sidebar” icon.

Click the “Enable” toggle, then click the “Save” button.
5.3. Quick Responses
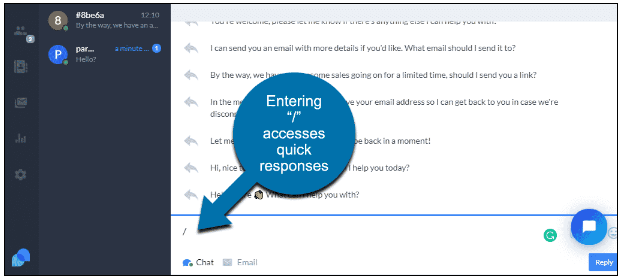
Quick responses are pre-written messages you can use to answer common questions. You access them in a chat by entering “/.”
There are a lot of useful responses there, but what if we want to add our own?
In the Tidio dashboard, click the gear icon to access settings.
Click the “Quick Responses” icon.

Click the “Add” button to create a new quick response.
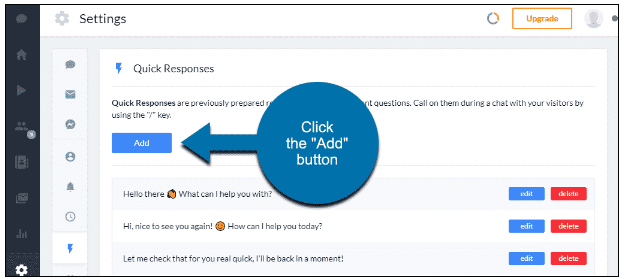
You’ll notice you can also edit or delete the provided quick responses.
5.4. How to Activate Chats After You’ve Been Away
When you log out of Tidio chat or close your browser, live chats are no longer available on your site. Visitors will see the “Leave a message” window. When you log back into Tidio, live chats resume.
If you’re in your WordPress admin dashboard, there’s a quick, easy way to resume chats.
In the left column navigation, click the “Tidio Chat” link.
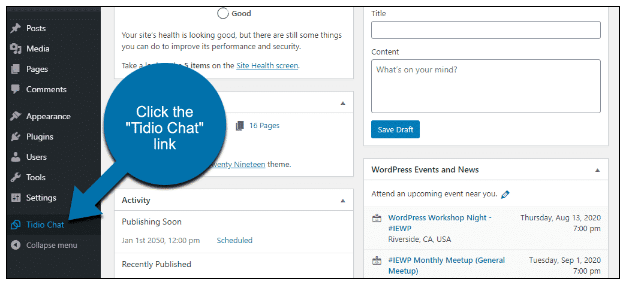
That will take you to the Tidio login page. Once you’ve logged in, live chat availability resumes.
6. Your Tidio Account
When you opened an account during plugin configuration, you started a 7-day free trial. The trial gives you access to paid account features like communicator, chatbots, and email.
After seven days, you won’t have access to those paid features unless you upgrade to a paid plan. You can also “downgrade” to a free account at the end of the trial. That way, you can keep using Tidio, but you won’t have access to the paid features.
Seven days is a fair amount of time to see whether your site benefits from live chat. If it does, you’ll probably want access to some of the paid features. Tidio’s monthly prices are comparable to other live chat services.
7. What Happens if You Uninstall the Tidio Live Chat Plugin
If you uninstall the plugin, live chats will no longer be available on your site.
Since your chat configuration and history are saved on the Tidio site, you can start offering chats again by reinstalling the plugin. As long as your Tidio account is still active, you can pick up where you left off.
Visitor Engagement Is the Key to Success
That’s true whether you’re selling a product or building a personal blog. And there’s no better tool for visitor engagement than live chat.
Chat can benefit any kind of site, but it’s particularly effective on e-commerce sites. The ability to immediately answer a visitor’s question can lead to a sale. A sale that may have been lost without a chat.
Have you ever tried a live chat plugin on your WordPress site? If you’re not running an e-commerce site, can you see any advantages to chatting with visitors?
I’d love to hear from you. Let me know in the comments.