Want to install XAMPP and WordPress – aka. install WordPress locally? This is a great idea if you want a development site that can be used for testing or other purposes. XAMPP lets you run a website from your very own computer. And once you get it set up, you can spin up a new WordPress install with just a few clicks.
Here’s exactly how to install WordPress locally with XAMPP. At the end of this, you’ll have your very own local WordPress testing environment running on Windows.
Step 1: Download and install XAMPP on your computer
XAMPP provides an easy-to-use control panel to manage Apache, MySQL, and other programs without using commands. To use PHP, we need to install Apache and MySQL. It’s not easy to install Apache and configure it as it needs to be set up and integrated with PHP and Perl, among other things. XAMPP deals with all the complexity to set up and integrate Apache with PHP and Perl.
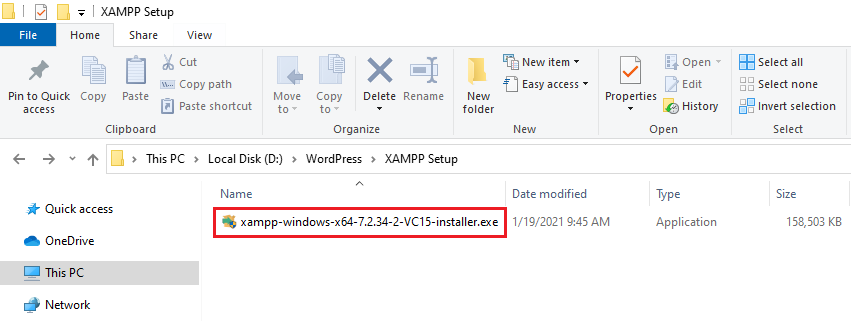
The first step on your way to install WordPress locally is to download and install the XAMPP software. You can download the Windows installer file from Apache Friends. Here, choose the Download option for the Windows version of XAMPP.

Once the download finishes, run the file you downloaded to launch the XAMPP installer. Just double-click to launch the xampp installer.
If you’re running antivirus software, you might get a warning like this:
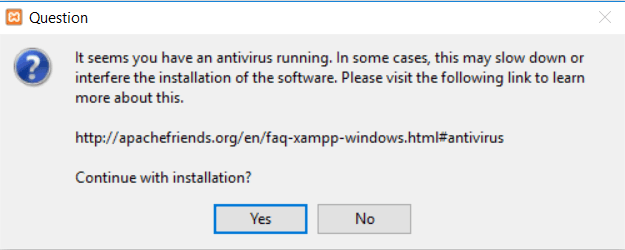
Just click Yes to continue. Depending on your Windows configuration, you might also get a prompt about User Account Control (UAC). Just continue through that prompt as well. Once you get through all of the prompts, you should see the standard installer screen:

Just click Next to continue.
On the next screen, you can choose which components to install. To install XAMPP and WordPress, you do not need all of the components. In addition to the required components, all you need are:
- MySQL
- PHPMyAdmin
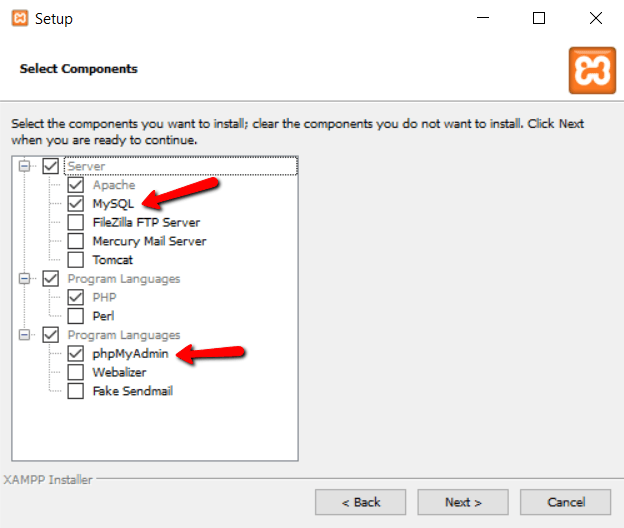
Again, this is all that’s needed to install WordPress locally. Uncheck everything else and click Next.
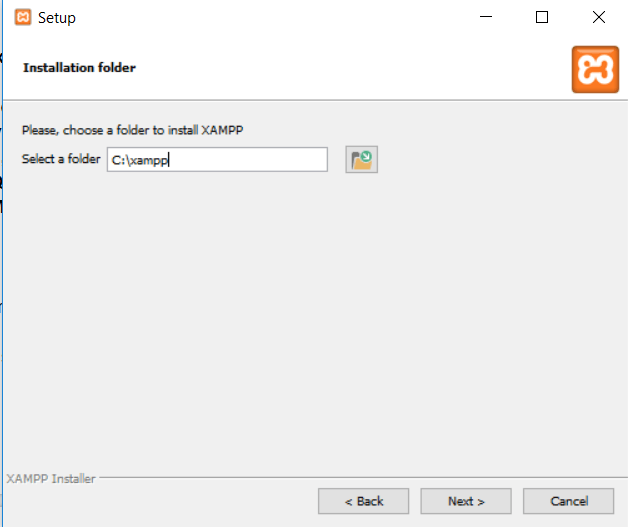
You can now select which folder to install XAMPP in. I always leave it as the default:
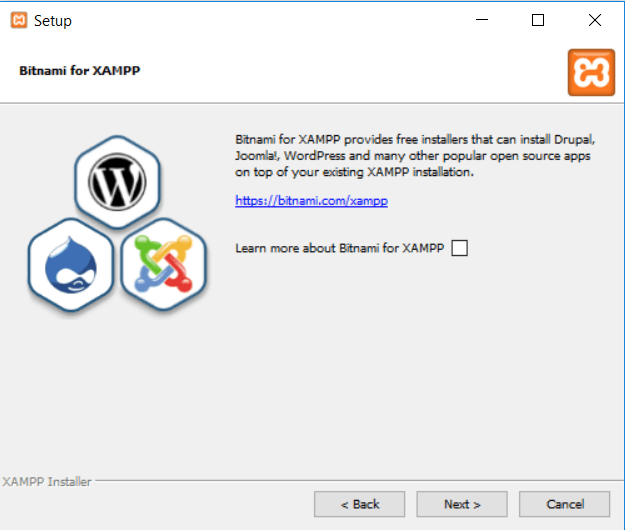
On the next screen, you’ll get a prompt asking you to install Bitnami for XAMPP. You do not need this to install XAMPP and WordPress, so just uncheck the box:
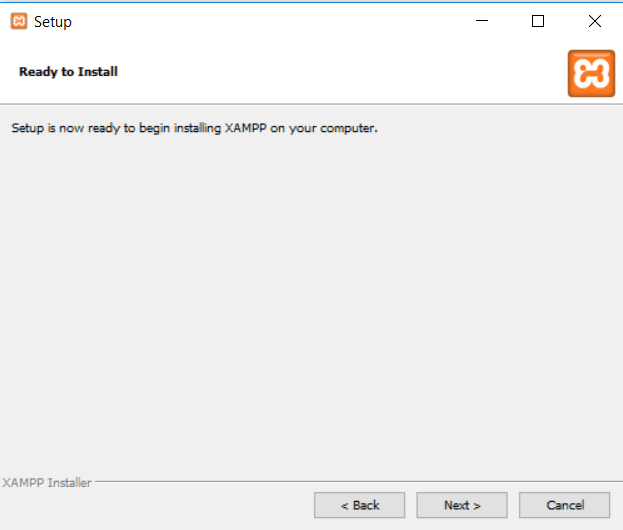
Once you click Next, you’re ready to run the install:
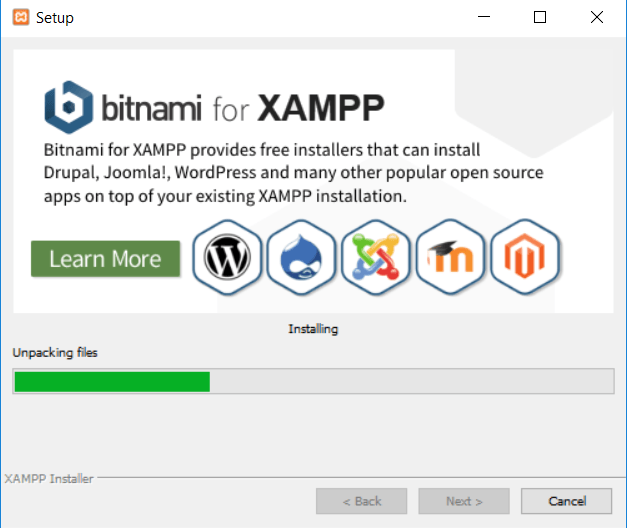
The install process might take a few minutes:
Once it finishes, you can launch the control panel to start working with XAMPP:

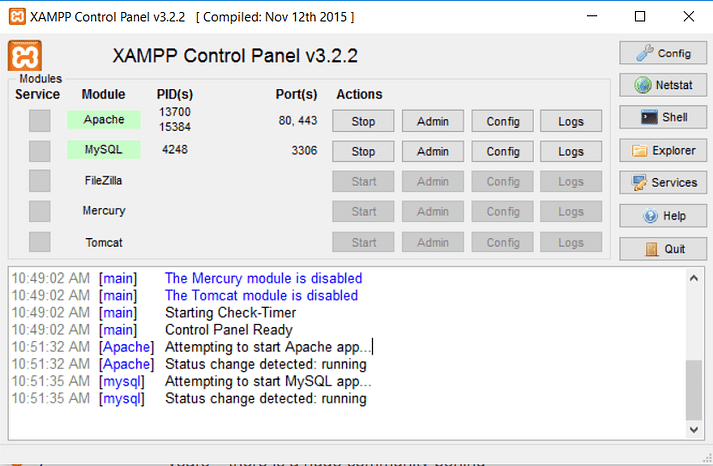
Step 2: Start the modules and test your server
To install XAMPP and WordPress properly, you’ll need to run two modules:
- Apache
- MySQL
You can start both modules from the XAMPP control panel:
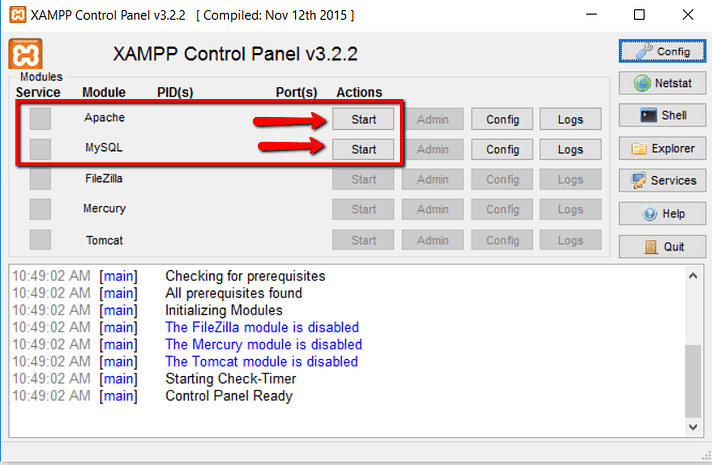
Once you launch them, you should see their status turn to green:
And now you should be able to test that your local server is working by going to http://localhost/ in your web browser of choice:

If all went well, you now have a functioning XAMPP server on your Windows PC! But now it’s time to install XAMPP and WordPress. So here’s how to get a WordPress site up and running on XAMPP.
To create a website using WordPress requires you to also download and install WordPress configuration files from their official website.
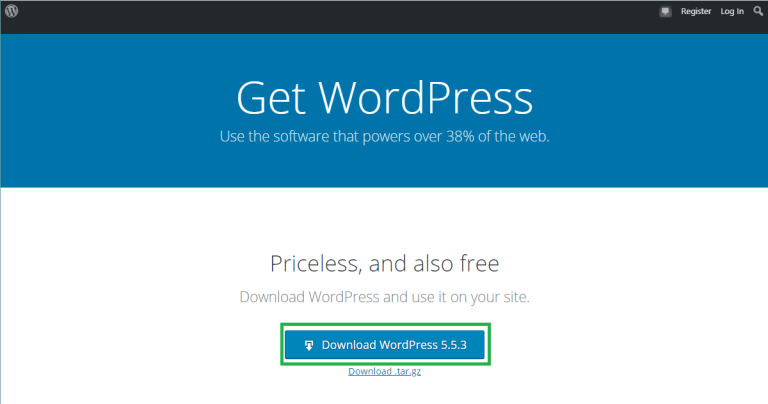
You can download the latest version of the WordPress setup folder from wordpress.org website. People are often confused about the differences between WordPress and WordPress.com.
There is a great difference between the wordpress.org website and the wordpress.com website. Check here to learn the difference between wordpress.com and wordpress.org.

Locate the downloaded zipped WordPress folder and unzip it to the same directory.
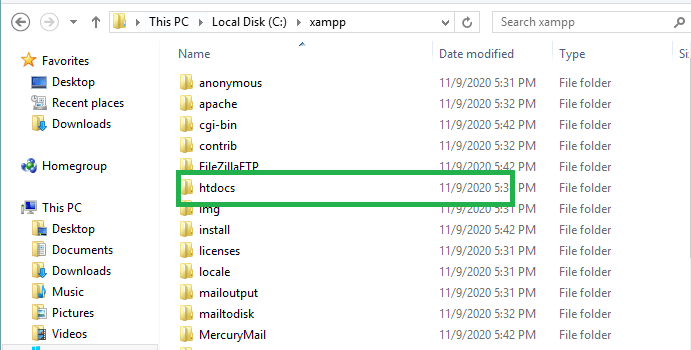
After extracting the zipped folder, move the newly extracted WordPress folder to the htdocs folder located in the xampp directory just installed. I.e. “C:\xampp\htdocs”.
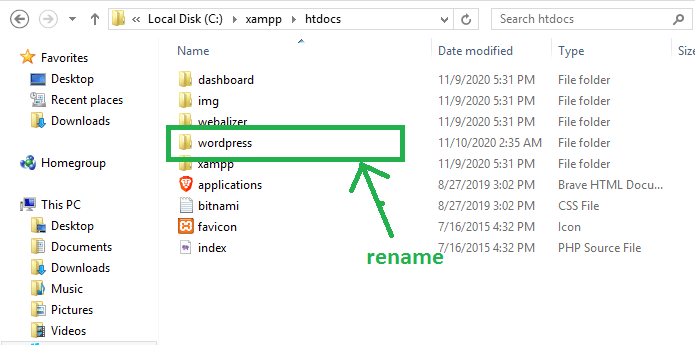
Rename the moved WordPress folder to a name you desire to use as your website name. Note: When renaming, do not add spaces between the words. It is advisable to join words with a hyphen character “-” or underscore character “_” when renaming your WordPress folder.
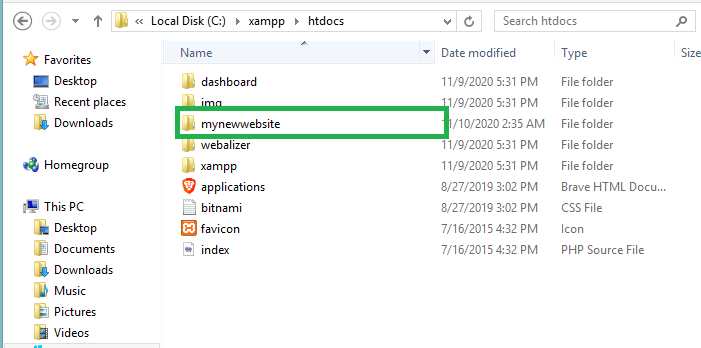
E.g. You can rename from “wordpress” to “mynewwebsite” or “my-new-website” or “my_new_website”. But not “my new website”.
Also, make sure to use all lowercase letters when renaming the WordPress folder.
Step 4: Create a Database on Localhost
Now, let’s create a database in WordPress localhost to hold all our WordPress data and any other changes made by users to the WordPress site.
To create a new database on localhost with xampp, open your browser.
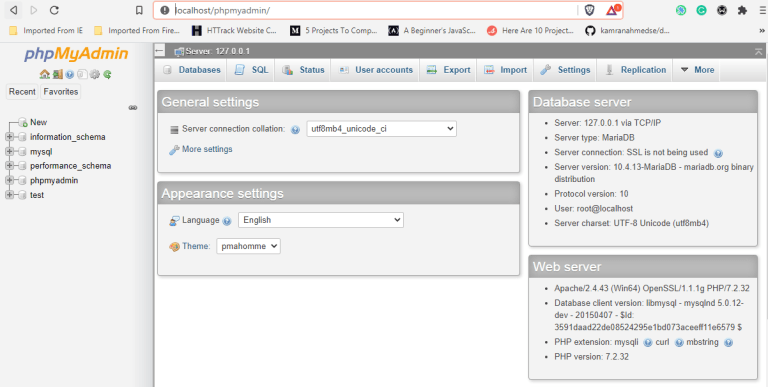
In the address bar of your browser, insert the URL: “localhost/phpmyadmin” to open the xampp MySQL database dashboard. Note: Ensure that your MySQL server is running in the xampp control panel as stated above.
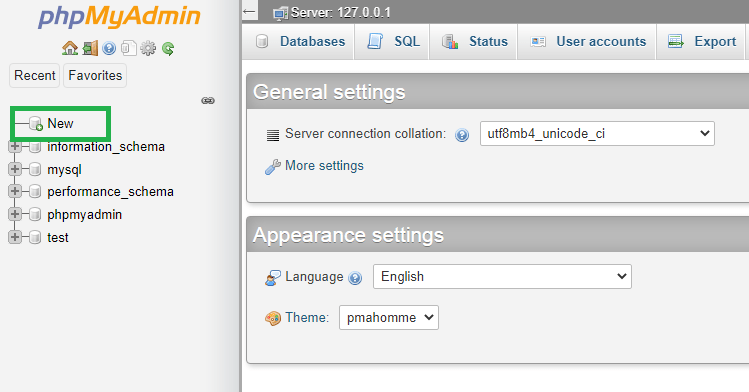
Click “New” on the left side panel to add a new database to existing ones.
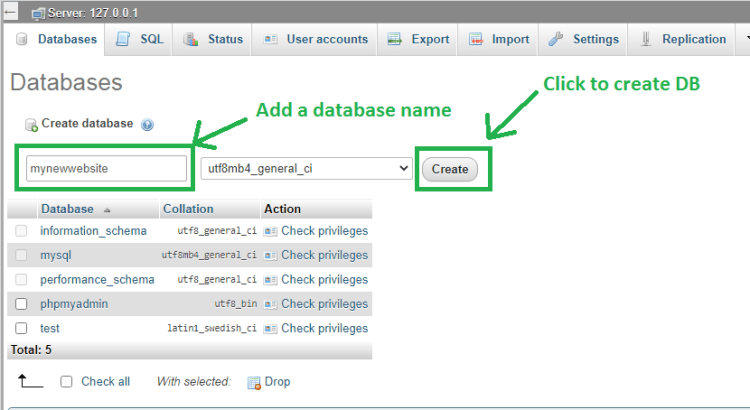
Add a new database name in the input field (preferably the name of your new WordPress website) and click create.
That’s all we need to create a database in WordPress localhost.
Step 5: Configure and Install WordPress Files Locally
Once you are done creating a database for your website in localhost, it’s time to configure and install the WordPress setup files you downloaded earlier.
To start configuring your WordPress website, insert the URL “localhost/mynewwebsite” in the address bar of your browser. Note: replace “mynewwebsite” with the name of your WordPress folder.
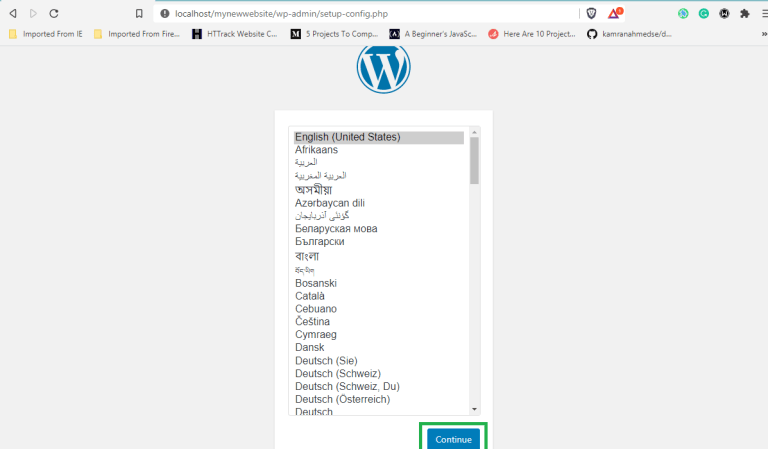
Select your preferred language and click “Continue”, to move to the next step.
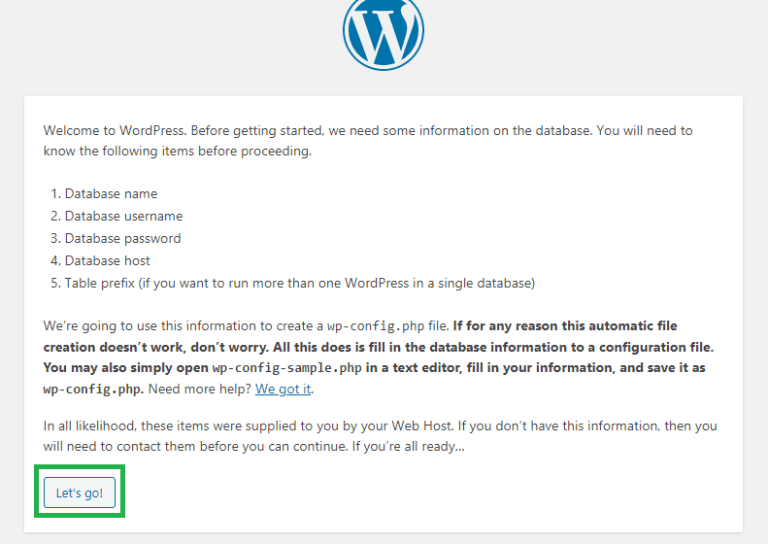
Read the instructions to know what you need, to continue with the WordPress setup and click “Let’s go!”.
Now, it’s time to provide the details of your database to enable a successful connection with your WordPress platform. (follow these steps carefully).
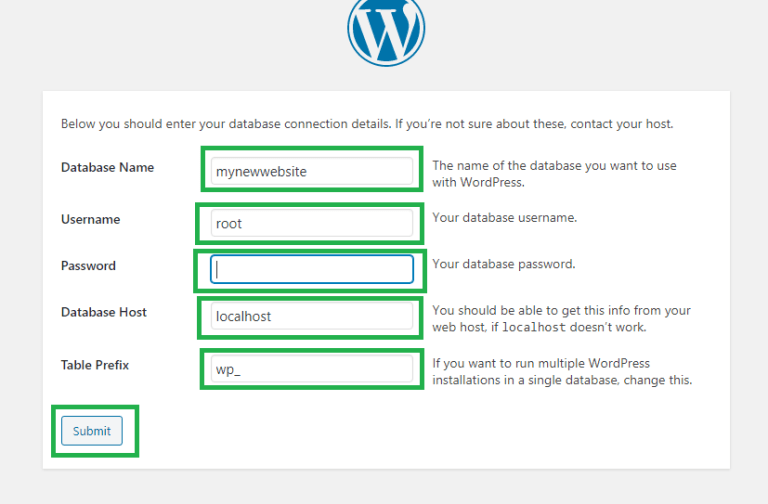
In the “Database Name” input field, insert the name of your database created earlier (mine is ‘mynewwebsite’).
The “Username” input field should be changed to “root”.
The “Password” input field should be left empty or blank.
The “Database Host” input field should be left as is (No need to change its value).
The “Table Prefix” input field should be left as is also (No need to change its value).
Click “Submit” after completing the database connection details to continue with the installation.
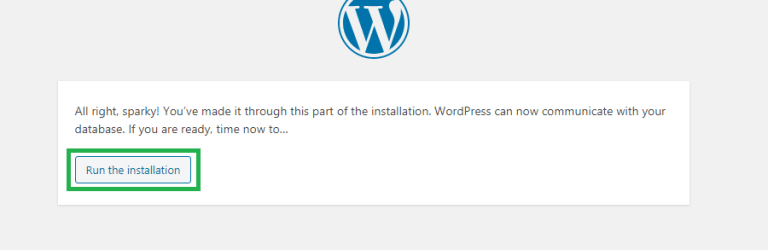
Click on “Run the installation” to move to the next step.
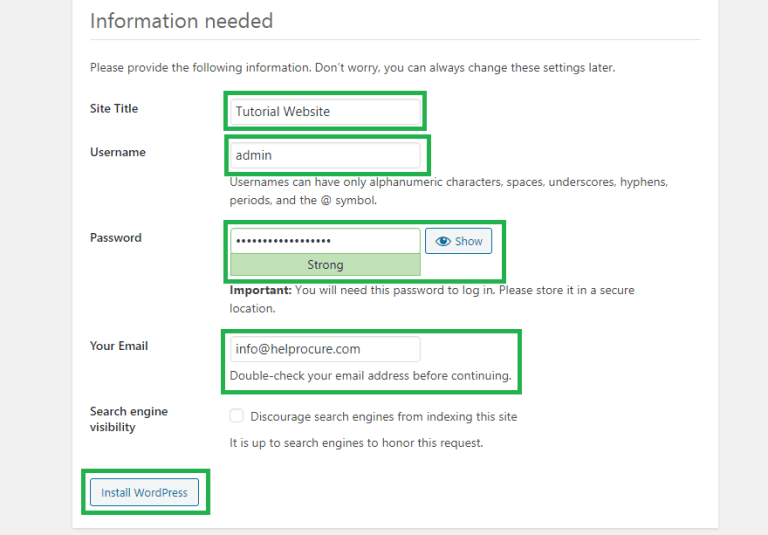
Provide the details needed for login and the complete installation of WordPress on localhost to use WordPress offline.
After you are done filling in the necessary details, click “install wordpress” to finally install WordPress on localhost for free. Note: copy your username and password data that you filled above into a text file, to enable easy access whenever needed.
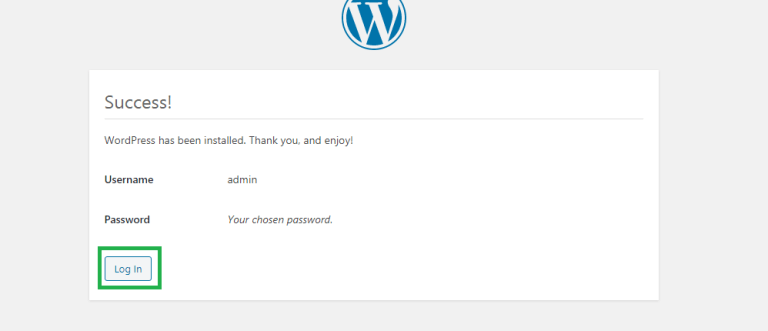
Congratulations! You have completely installed WordPress on localhost. Click the “Log In” button to move to the login form for authentication.
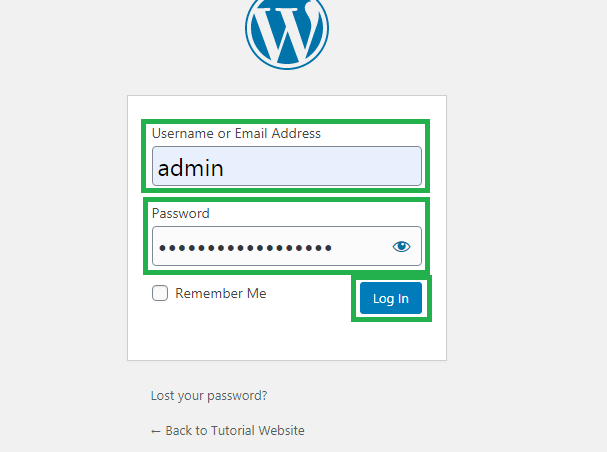
Provide the username or email address and password you added when installing WordPress. And click “Login” to view your WordPress dashboard.
Step 6: Upload Theme and Install Plugins in WordPress
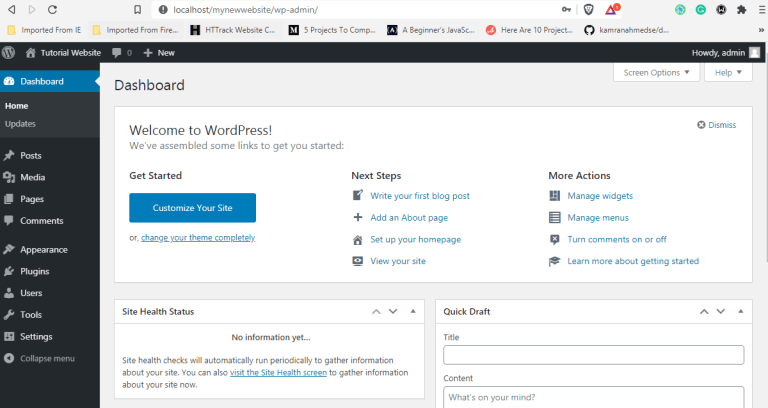
After a complete setup of your WordPress configuration files, it’s time to view how the default WordPress platform or theme looks like.
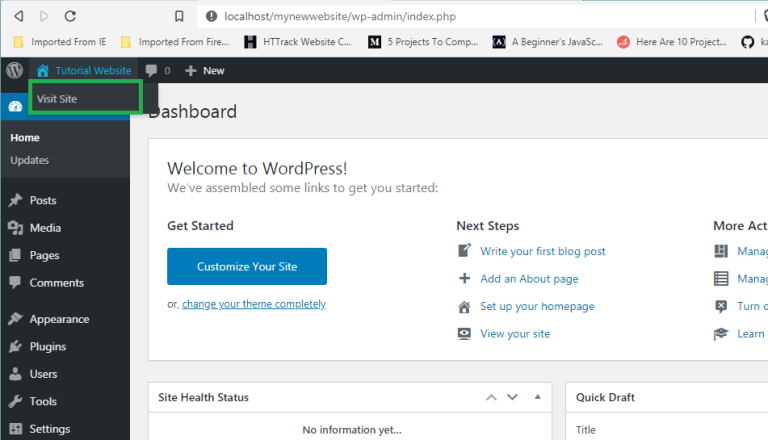
To view how your website would look like to users, hover across the name of your site at the top left-hand corner in your admin dashboard. You would see a dropdown, saying “Visit Site”. Click on it to view your website or enter the URL: “localhost/mynewwebsite” in the address bar of your browser. (Note: replace “mynewwebsite” with the name of your WordPress folder).
To go back to your WordPress admin dashboard, add “/wp-admin” to the URL already in the address bar of your browser. E.g. “localhost/mynewwebsite/wp-admin” (Note: replace “mynewwebsite” with the name of your WordPress folder).
How to Add a Theme or Template to Your WordPress Site
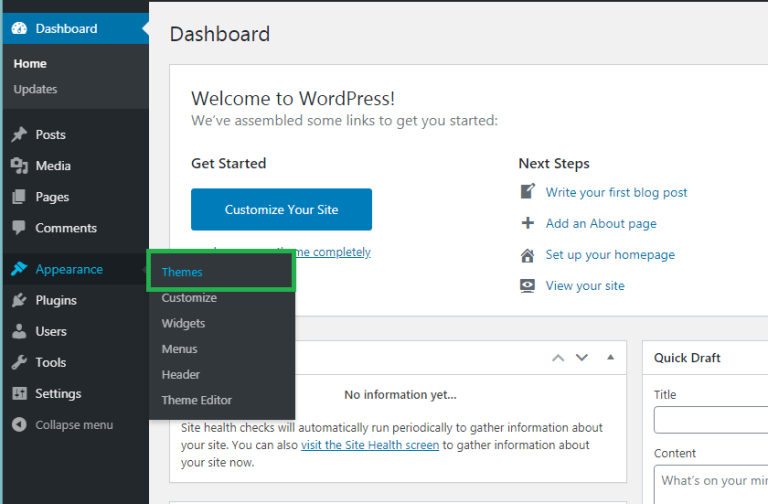
To use a new theme or WordPress template on your website, you need to install a WordPress theme on localhost. On the left sidebar of your admin dashboard, click on “Appearance”. You can also hover on the “Appearance” link to see a dropdown list. In it click on “Themes” to go to the themes page.

You can select any of the already made themes provided by WordPress by hovering on it and click on the “Activate” button to make as current theme.

Or preferably, you can add a downloaded theme by clicking on the “Add New” button to move to the Theme Install page. The best platform to get and select any WordPress templates of your choice for any industry when creating your websites is from Astra WordPress Themes. Download a free Astra WordPress Theme now.

Click on “Upload Theme” to add a zipped folder of your downloaded theme.
After uploading/installing it, activate by hovering on it and click on the “Activate” button to make as the current theme to be used.
To view how your website looks like now with a new theme, open a new tab in your browser and enter the URL: “localhost/mynewwebsite” in the address bar. Note: replace “mynewwebsite” with the name of your WordPress folder.
How to Add Plugins to Your WordPress Site
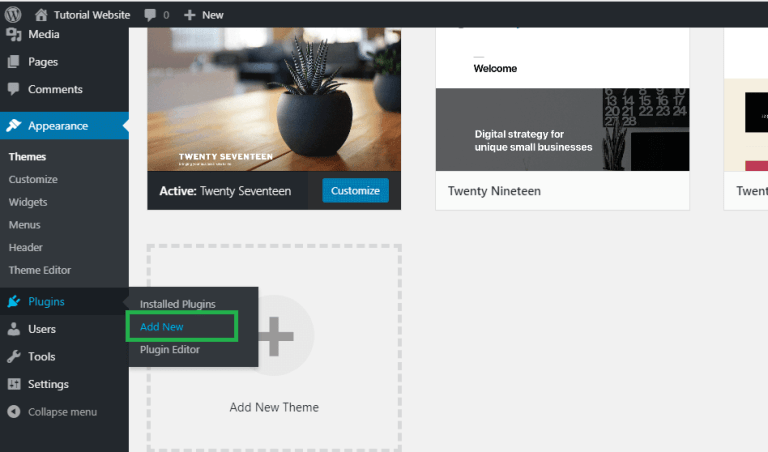
To make creating your website easy, you need to install WordPress plugins on localhost. To add a plugin to your WordPress website is as easy as installing a theme. At the left sidebar panel, hover on “Plugins” link to get a dropdown list. And then click “Add” to move to the plugins add page.
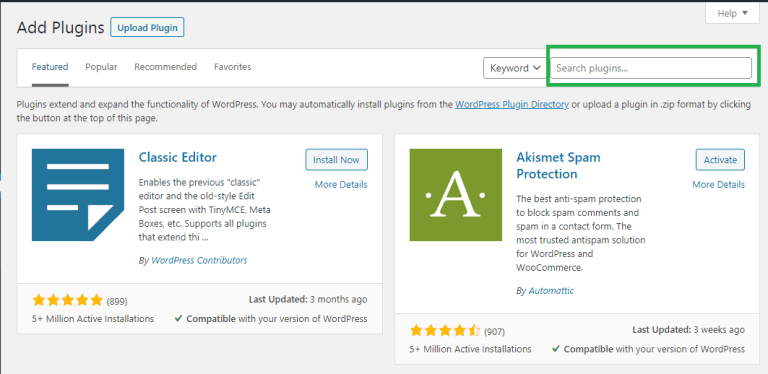
You can search for the desired plugin in the search bar or see a list of must-have plugins for WordPress sites.
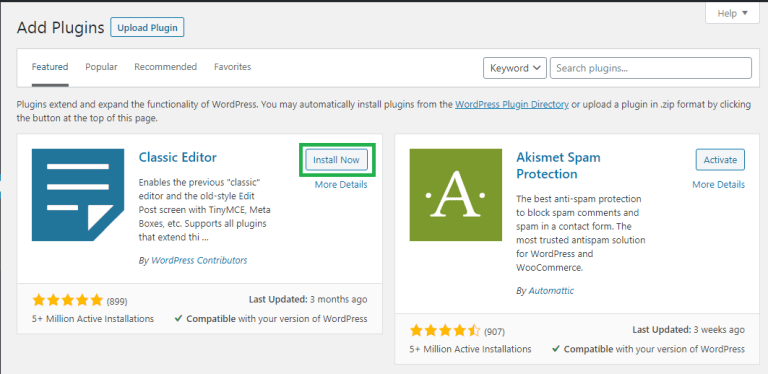
When you’ve found a plugin, click on “Install Now” to install it.
After it has completed its installation, click the “Activate” button to activate the plugin and start enjoying its features.
Conclusion
Installing WordPress on your computer is a very straightforward process. Even the most experienced developers start with setting up WordPress locally before moving it online.
To install WordPress on localhost is easy. And it takes a few steps of downloading a xampp software, download the WordPress setup/configuration file, create a database to hold data for your WordPress site, configure and install the WordPress files, upload a WordPress theme and install different WordPress plugins to add exciting features to your WordPress website.
Lastly, don’t forget to share with friends on all social platforms to help them begin their web design journey as a WordPress designer. Good luck!