Flatsome WordPress Theme is a responsive multipurpose and one of the best theme for WooCommerce theme, which is the best solution for ecommerce websites. You will need a highly adaptable eCommerce theme for the website when you’re about to launch a business online or present your firm as an e-commerce one.
We offer here some relevant Flatsome theme for free (full code), that you can easily customize for your business:


We show you quickly how to customize our theme for your business with the following main contents:
1. Customizing header
2. Customizing website’s color and style
3. Customizing footer
4. CSS
5. Enter your Google API
6. Customizing home page
7. Customizing product page
8. Customizing post page
1. Customizing header
Flatsome offers excellent header customization options with its Header Builder.
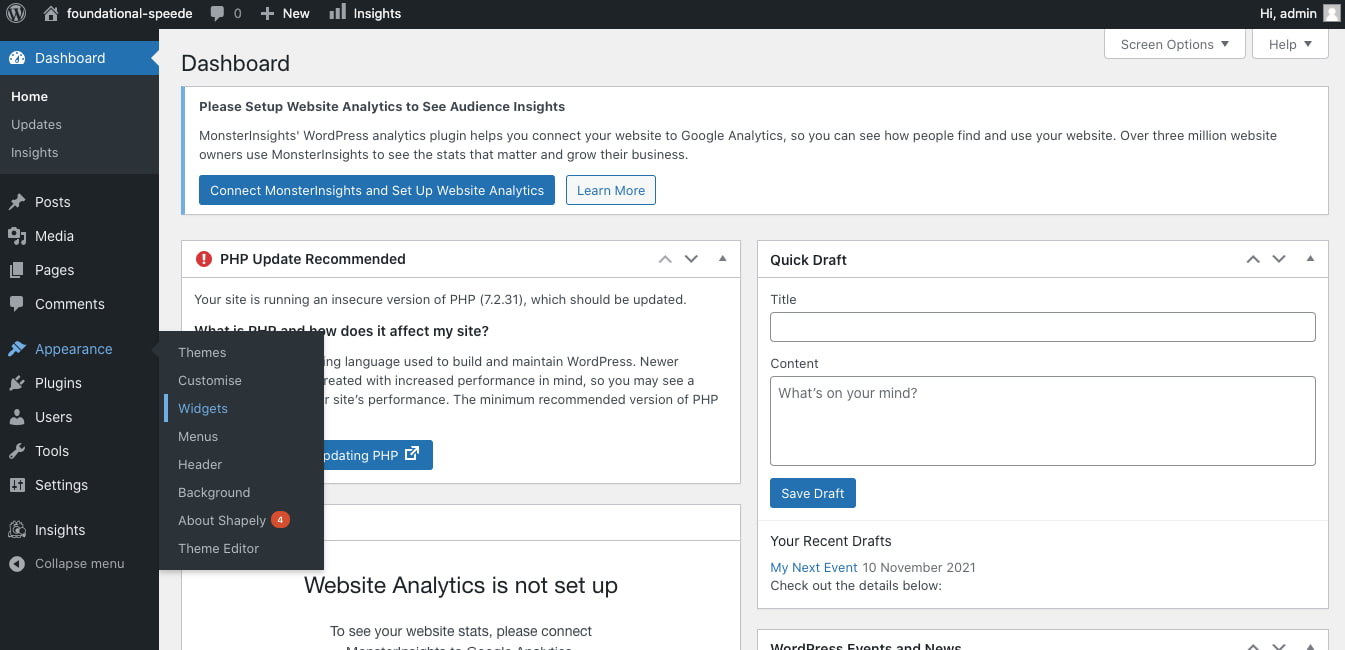
When you go to Appearance and click on the Customize option on your store’s WordPress backend, you can see several customization options, including header, style, blog, and layout, as shown below.


Clicking on the Header menu gives you an intuitive drag-and-drop header builder to customize your header per your requirements.

You can adjust the placement of the menus with the drag-and-drop editor and add anything easily from buttons, search form, vertical menu, and your custom HTML code. In addition, the editor also lets you adjust the style, including height, width, and color.

You can also preview the customized header’s desktop, mobile, and tablet versions through the header builder editor.
2. Customizing website’s color and style
Navigating to the Flatsome > Theme Options > Style menu, you can adjust your website’s color and typography or add custom CSS – choosing from unlimited color options and over 700 Google fonts.

In addition, you can also customize your website’s footer, blog, menus, pages, and widgets with enhanced customization and styling options.

3. Customizing footer
3.1. Using theme option
Most theme developers know that you’ll want to edit their default footers. So, they usually offer a built-in option in the theme to make changes. Every WordPress theme is different. So, this setting may be available in different sections within the theme.
1. Log in to the WordPress dashboard.
2. Go to Appearance > Customise.
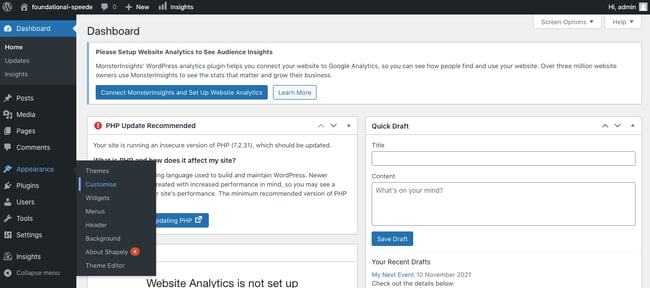
3. Look to see if you have a Footer option.
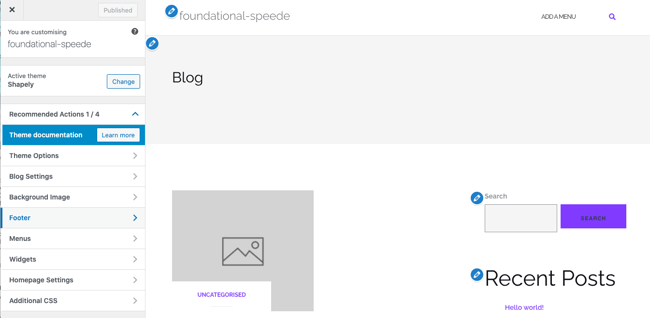
4. If you do, select Footer > Bottom Bar. From there, you’ll be able to disable the footer or put in your own text.
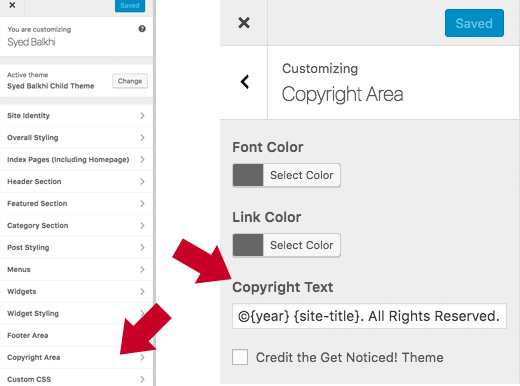
5. If you have the Copyright Area option. If you do, you can make changes to this footer as well.
If your theme does not have these presets built in, you’ll have to remove the default WordPress footer using another method. We’ve included other options below.
3.2. Using Footer Widgets
Some WordPress themes use widgets to add specific features, like footers.
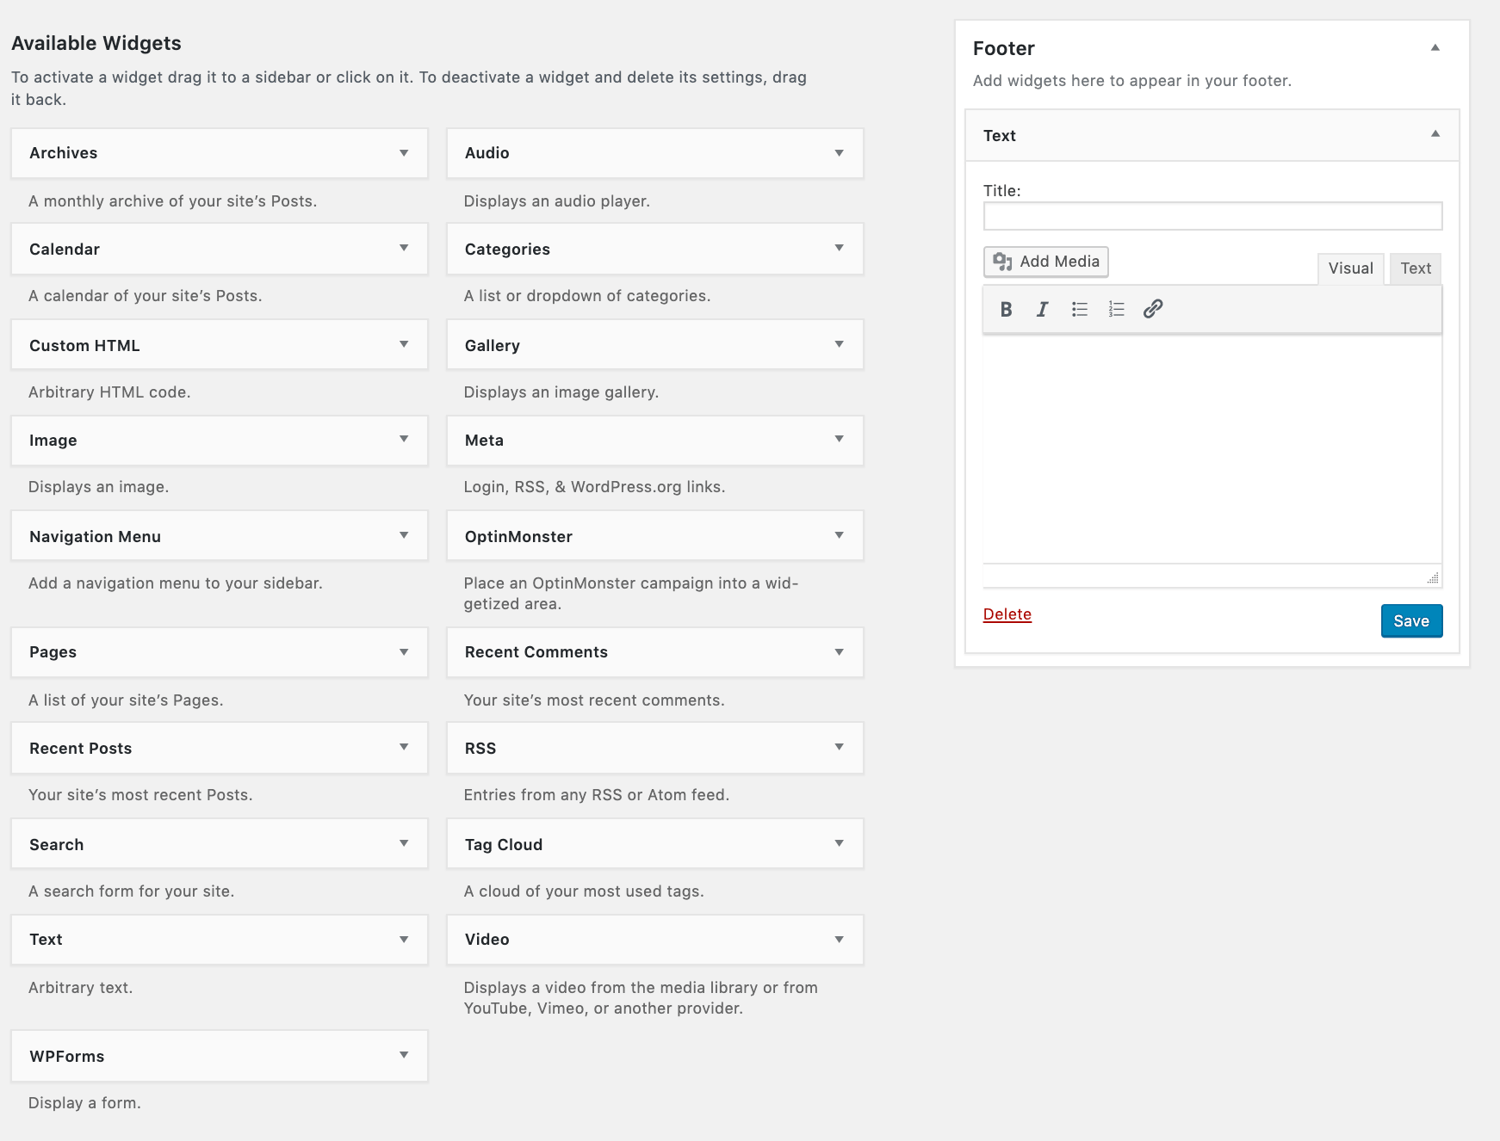
1. You can find your footer widget by going to Appearance > Widgets.
2. On the right, you’ll find the footer widget section, Footer.
3. From the list on the left, drag and drop the Text widget underneath the Footer.
4. Click the down arrow and then add your content in the text field.
4. CSS
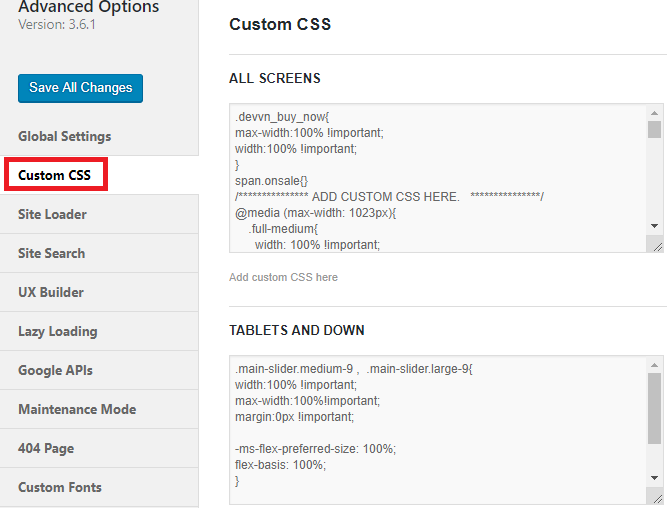
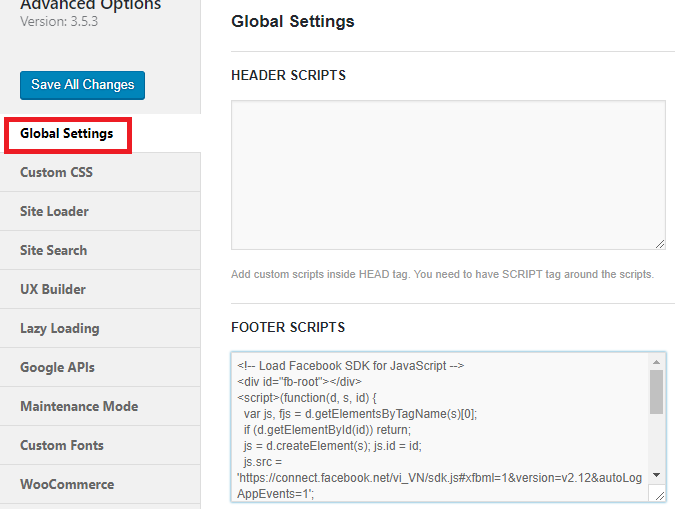
Access Flatsome -> Theme Options -> Custom CSS.
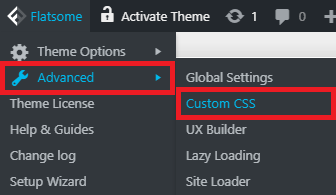
Also, access Flatsome -> Advanced -> Global Settings. You can then create code for Header Script or Footer Script.
5. Enter your Google API
Step 1: You need create API Key on Google. Go to the Google Maps Platform > Credentials page. On the Credentials page, click Create credentials > API key. The API key created dialog displays your newly created API key.
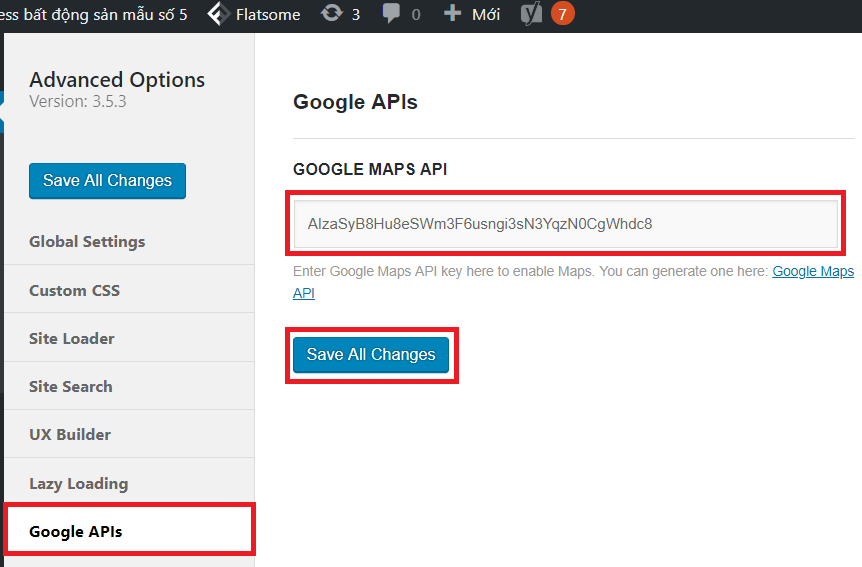
Step 2: Save API Key in your website
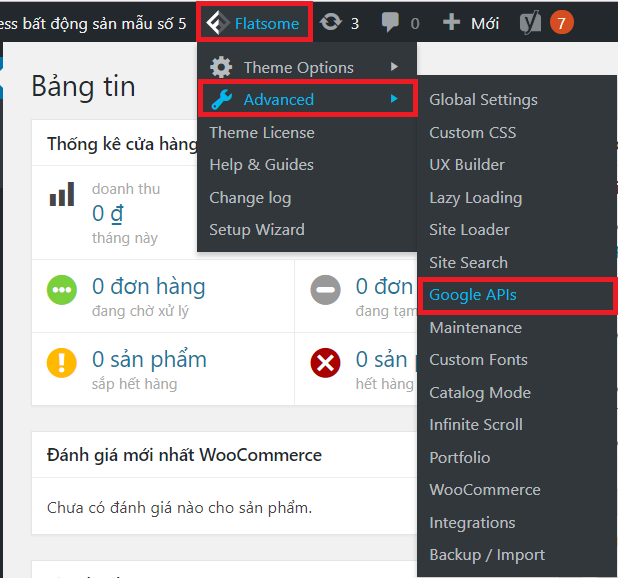
Acces Flatsome -> Advanced -> Google APIs
6. Customizing home page
Flatsome comes with a seamless interface, making adding and removing elements of your choice easier.
When you click the ‘Add elements’ button, you’ll see multiple elements options in the sidebar – including layout, content, and shop.

You can pick from a diverse range of elements, such as section, row, slider, grid, page header, block, stack, image, icon, search box, price tables, gallery, and portfolio. In addition, you can browse all the Flatsome elements here.

Besides, the theme is highly responsive – allowing you to preview your website’s mobile, tablet, and desktop version in a single click. For example, just click on the icons displayed on the right-hand-side sidebar to preview your eCommerce store on different devices, as shown below.


An extensive set of theme design options

Your store’s design is one of the key aspects to attracting visitors. The more creative and simple it is, the longer visitors want to stay and engage with your website.
Flatsome offers many attractive pre-made design templates with premium quality if you don’t have a custom page design ready. The color, block placement, icons, image size, and background design of all the themes are excellent and appealing to design.
7. Customizing product page
Step 1: In the dashboard, hover on ‘Flatsome’ and from there on ‘Theme Options.’ You will see many options for different sections of the theme.

Step 2: Hover on WooCommerce and then click on ‘Product Page.’

Step 3: You will be taken to the product customization options page. Click on ‘Custom’ on the ‘Product Layout’ option.

Step 4: Now click on the select box from ‘Custom Product Layout.’

Step 5: Now select ‘Custom Product Layout Global’ from the list and click on ‘Publish.’ With this setting saved, all products will use this custom product layout you have just created.

Step 6: In the dashboard, hover in the ‘Products’ option and click on ‘All Products.’

Step 7: The best way to create a custom product layout is to choose an existing product with various types of information. This way, it will be easier for you to visualize your change. Choose a product with complete information from the ‘All Products’ page and click on ‘View.’ On the selected product page, hover on ‘Edit Product’ in the top web page header design admin bar and click on ‘Edit product layout with UX builder.’

Step 8: Your custom layout page will open in UX Builder. Click on the ‘Add Elements’ button in UX builder to add design elements and create your own custom product layout.

Step 9: Scroll down to the bottom, and you will find the essential elements you need to create your custom product page. Click to add the elements as per your need and design criteria. There are many best SEO themes for WordPress that support WooCommerce elements.

Step 10: Let’s start with creating a basic custom product page. Scroll up to the top and click on ‘Row’ in the layout section.

Step 11: Select ‘One Column’ and then click on ‘Apply.’

Step 12: After clicking on the ‘Apply’ button, you will be taken to the row settings. Make some basic changes as shown in the image, and then click on ‘Apply.’

Step 13: Now click on the ‘Columns’ section, and you will find the ‘Add to Column’ options. Click on the ‘Add to Column’ option to add elements to the selected column.

Step 14: Now scroll down to the bottom and click on the ‘Product Breadcumbs’ element to add it to the column. Breadcrumbs feature can also be found in many free WooCommerce WordPress themes.

Step 15: You will be taken to the setting of the selected module. Select size ‘Large’ and click on ‘Apply.’ You can instantly see the added element on the custom layout we are working on.

Step 16: We have just added a breadcrumb to our custom product page.

Step 17: Following step 12, create another row, and this time select ‘Two Columns.’ Next, following step 13, make the basic changes in the column setting and click on ‘Apply.’

Step 18: Following step 15 to 18, add elements in the two columns as shown in the picture. Click on ‘Update’ to save.

Step 19: Following steps 12 to 18, create another row with one column and add 3 elements shown in the picture.

Step 20: Now click on ‘Update’ to save your modification, and then click on the ‘X’ button at the page’s top-left corner.

Step 21: After clicking the ‘X’ button, you will exit the UX builder and be redirected to the product view page. We can see that we have created a custom product page layout, and it’s appropriately showing on our product page. As we have set the product layout globally, all products on our site will use this custom layout for the product page. We have designed a simple layout; you can customize it more if you like following the procedure shown here. If you face any issue during this process like a 404 error you can customize the 404 page easily by following some simple steps.

8. Customizing post page
You can change the post layout to Default template (the one with a sidebar) or Full Width template (without a sidebar). Sidebar can be added to blog posts which will then allow adding widgets to blog posts. How to add a sidebar refer to this article.
If you don’t want to have a sidebar on a post page, you need set Template in Post Attributes drop down to Full Width:

In Flatsome > Theme Options > Blog > Blog Single you have options to set different layout for your single post and also hide/show different elements like featured image, social icons, related posts, etc. and style them.
To see all of the blog styles, you may check out “Blog” section on our Jupiter X main demo under the Blog menu item.