The Advanced Editor Tools Plugin, previously known as TinyMCE Advanced, increases the number of formatting tools such as tables, emoticons and custom font families that are available and gives you more control of which tools are included on the visual editor on the classic block or in the classic editor of WordPress. Once you’ve activated the Advanced Editor Tools Plugin in Plugins > All it automatically replaces the default WordPress Visual editor with the Advanced Editor Tools which looks like this if you are using the classic block in the block editor and also adds a classic paragraph block.
1. Installing the Advanced Editor Tools WordPress Plugin
Before benefitting from the features of the Advanced Editor Tools plugin, you must first install and activate it. Continue below to learn how.
- Step 1: Log into your WordPress dashboard.
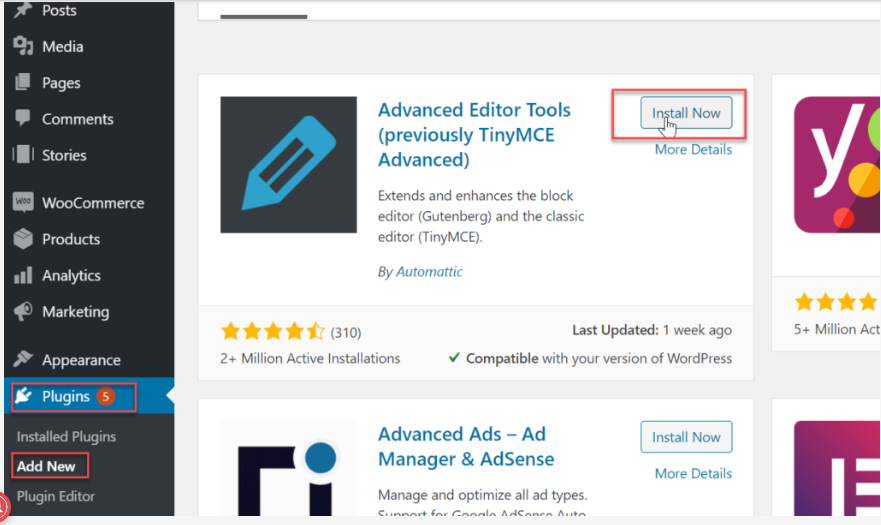
- Step 2: Navigate to Plugins > Add New.
- Step 3: In the search box, type Advanced Editor Tools.
- Step 4: Click Install > Activate.
2. Configure Advanced Editor Tools
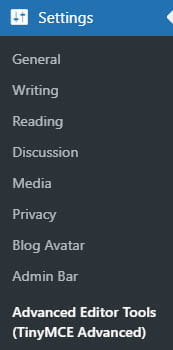
You configure your Advanced Editor Tools in Settings > Advanced Editor Tools (Tiny MCE Advanced).
How you configure depends on if you are using the block editor or the classic editor.
2.1. Block Editor
The following section explains how configure the Advanced Editor Tools if you are using the block editor. If you are using the classic editor, refer to the classic editor section.
2.1.1. Toolbars for the block editor
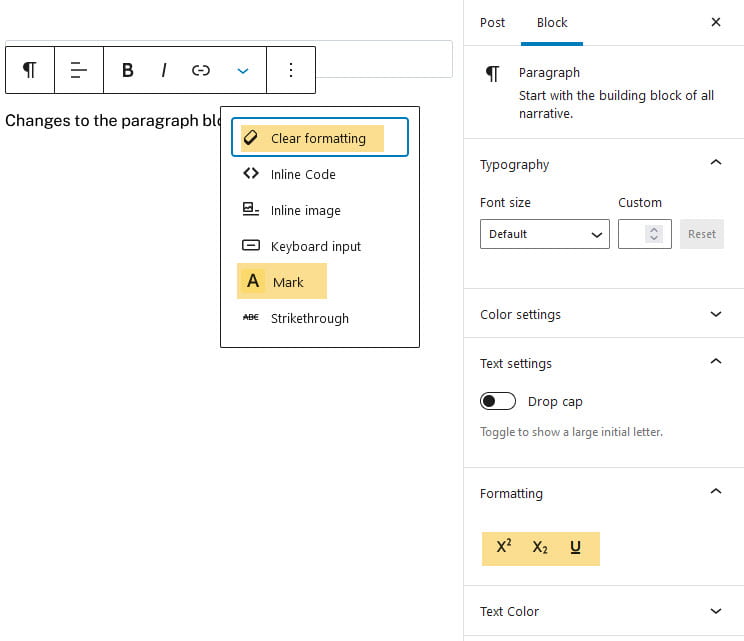
The Advanced Editor tools automatically adds Clear formatting and Mark to the drop down menu on the paragraph block‘s toolbar and moves Subscript, Superscript and Text Color from the drop down menu in the toolbar to the block settings in the editor sidebar and adds an underline option.
You drag and drop the options between the main toolbar’s drop down menu and the alternative side toolbar to change and reorder which items appear in the paragraph block toolbar drop down menu and block settings in the editor sidebar.
Remember to click Save Changes each time you make a change.
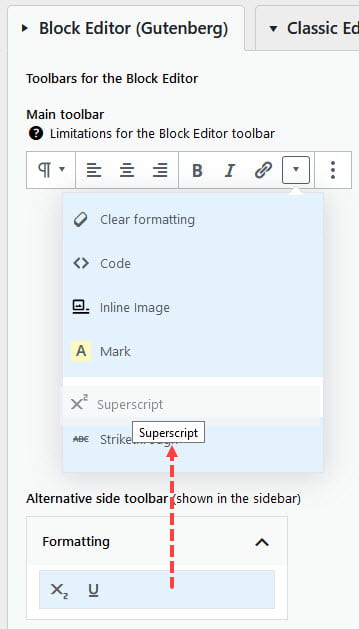
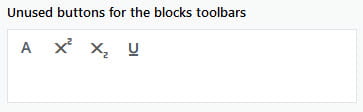
Any item you want removed from the paragraph block’s toolbar and block settings in the editor sidebar you drag and drop into the Unused buttons for blocks toolbar area.
“Enable setting of selected text color” and “Enable setting of selected text background color” can be changed to No as the latest version of WordPress already includes these options.

2.1.2. Toolbars for the Classic Paragraph and Classic blocks
The classic block looks like the classic editor but it is in block form and is narrower than the classic editor.
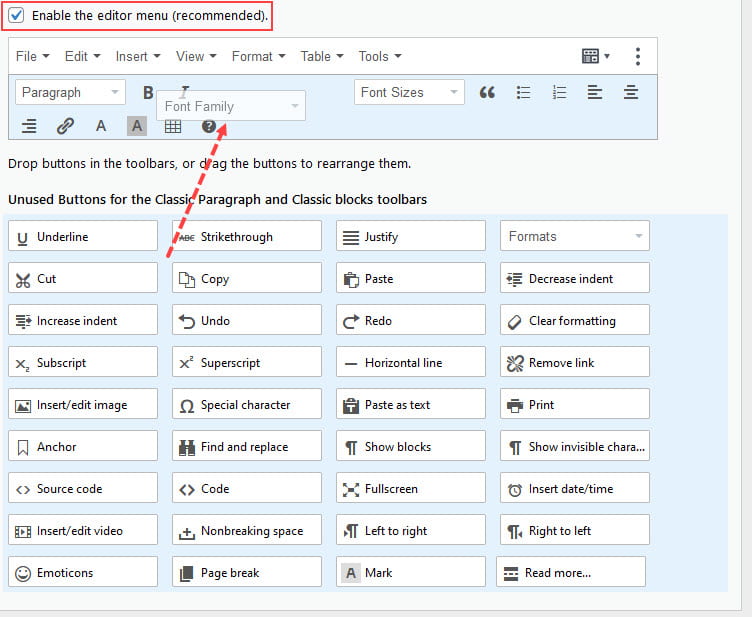
For best results enable the editor menu and only add essential items to the toolbar.
Here’s what the classic block looks like when the Advanced Editor tools plugin is activated.

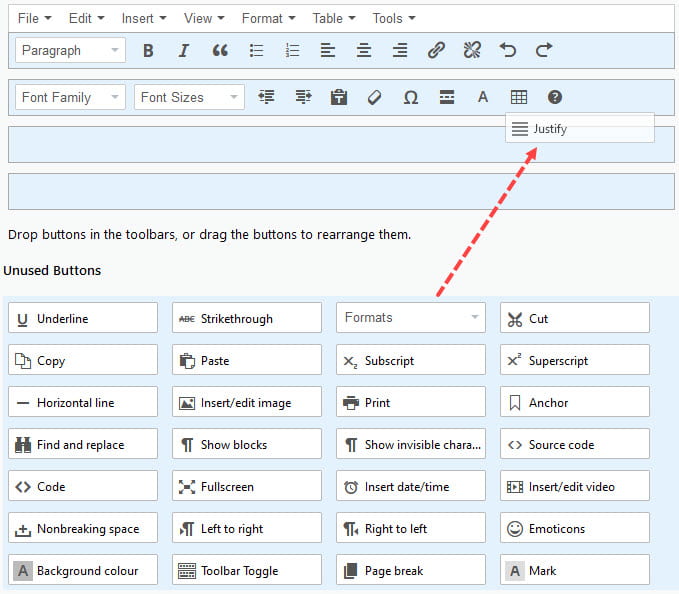
You remove buttons from the toolbar by dragging the buttons from the toolbar and dropping them into the Unused button area. You add buttons by dragging the buttons from the Unused button area to the toolbar.
2.1.3. Additional Options
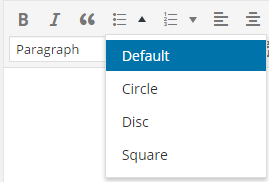
List Style Options extend your bulleted and numbered list options.
Clicking on the drop down arrow next to the Bulleted list icon or Numbered list icon reveals the extra options.

Extra Bulleted list options:

By default, extra list style options are enable.
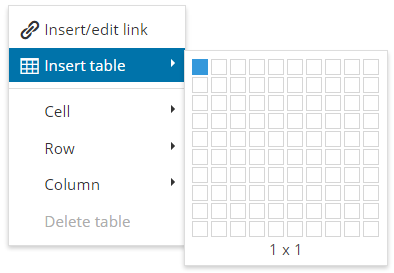
Context Menu
When the Context Menu is enabled it replaces your web browser’s menu item when you right click in the content area of your post editor with the following TinyMCE Advanced content menu.

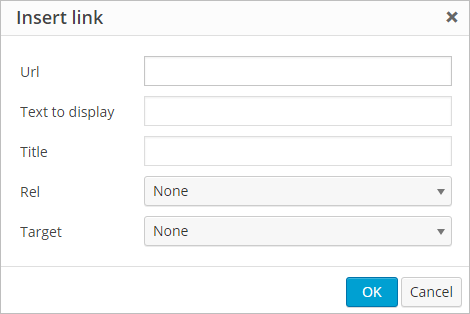
Alternative Link Dialog
When the Link is enabled it replaces the WordPress Insert/Edit Links dialog with the following TinyMCE Advanced Insert/Edit Links Dialog.
Advanced Options
Under advanced options you can replace the paragraph block with the Classic Paragraph block by selecting “Make the Classic Paragraph” or “Classic block” the default block.
2.2. Classic Editor
The following section explains how configure the Advanced Editor Tools if you are using the classic editor. If you are using the block editor, refer to the block editor section.
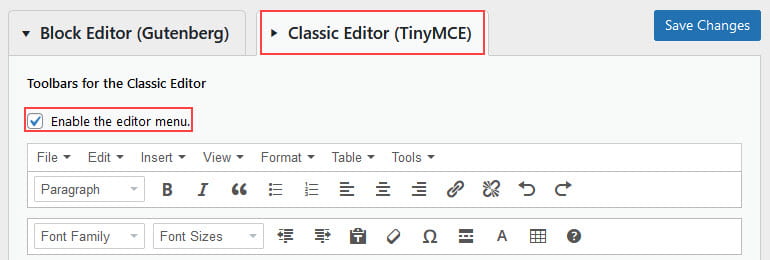
2.2.1. Enable/Disable Editor menu
By default, the editor menu is enabled. For best results it is recommended to keep the Editor menu enabled.
2.2.2. Add/Remove buttons
You remove buttons from the toolbars by dragging the buttons from the toolbar and dropping them into the Unused button area. You add buttons by dragging the buttons from the Unused button area to the desired toolbar.
Any button used regularly would added to the first toolbar row.
Remember to click Save Changes each time you make a change.
2.2.3. Options
List Style Options extend your bulleted and numbered list options.
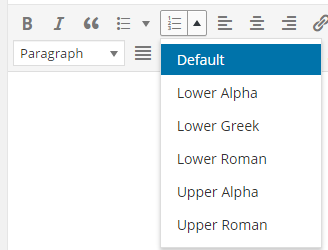
Clicking on the drop down arrow next to the Bulleted list icon or Numbered list icon reveals the extra options.
Extra Bulleted list options:
Extra Numbered list options:
Context Menu
When the Context Menu is enabled it replaces your web browser’s menu item when you right click in the content area of your post editor with the following TinyMCE Advanced content menu.
Alternative Link Dialog
When the Link is enabled it replaces the WordPress Insert/Edit Links dialog with the following TinyMCE Advanced Insert/Edit Links Dialog.

Advanced Options
There is no need to make any changes to the advanced options.