All-in-One WP Migration is a free plugin for WordPress Website, that allows you to export your site’s content, media, plugins, and theme to a file in one-click. You can then upload it to a new site or use it as a backup by importing it via FTP, Dropbox, Google Drive, and more. All-in-One WP Migration allows you to make changes to your database during the export process. It does this through a find-and-replace feature, plus advanced settings that allow you to exclude files, spam comments, post revisions, and more.
1. Install the All-in-One WP Migration Plugin on your WordPress Website
To get started, you need to install The All-in-One WP Migration Plugin on your old web host (or the web host you’re moving from).
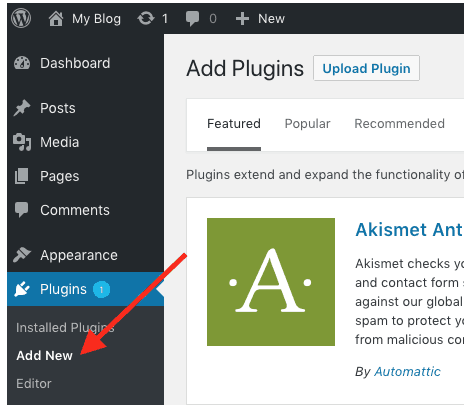
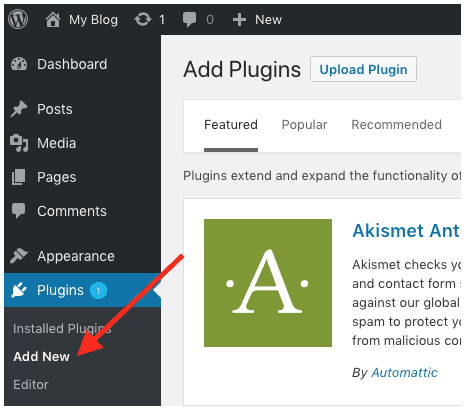
To do this, login to your wp-admin and go to Plugins -> Add New:
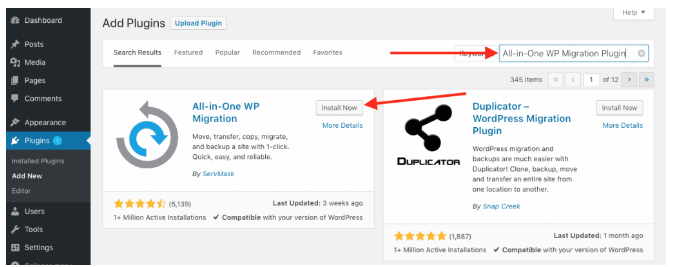
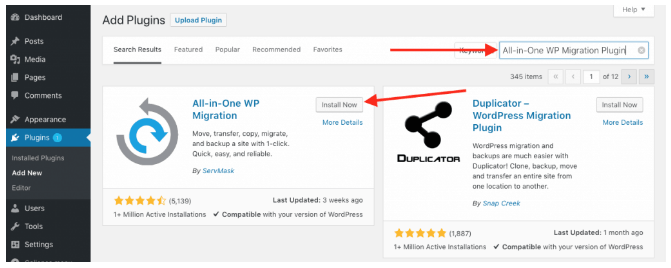
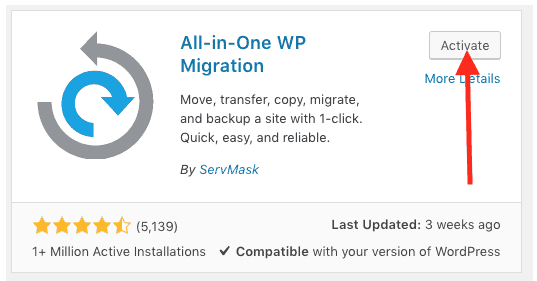
Once here, type in All-in-One WP Migration Plugin and press enter. You can then click Install Now:
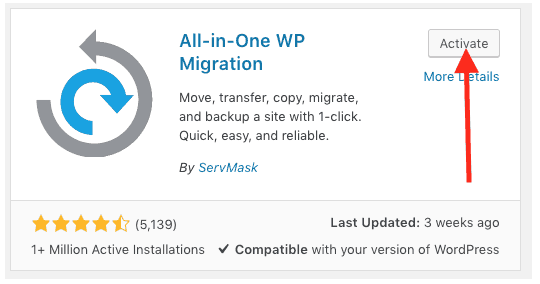
Once installed, you have to Activate it:
2. Export your WordPress Website
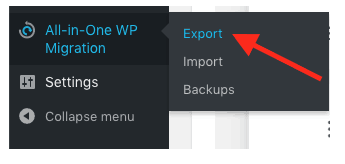
Once the plugin is activated, you’ll see it show up on your left navigation menu, hover over it and click Export:
From here, you’ll have a couple of options:

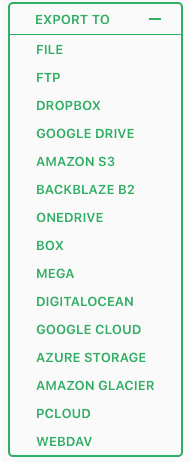
If you want to proceed with the default (all options) click on Export To and select your destination:
If your website isn’t that big, it maybe the easiest option to export to File. This will package up your WordPress website and download it to your computer.
If you have a larger website, you may wish to use the FTP option to send it over to your new (NameHero) web hosting account. In addition, you can also send it to a third-party service such as DropBox.
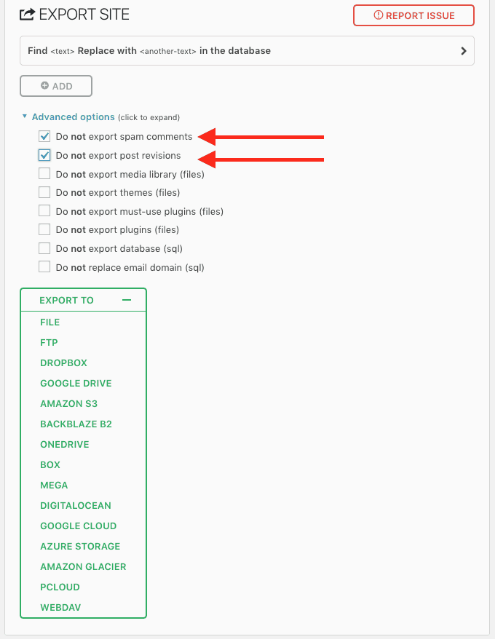
If you don’t want to export your entire WordPress website (for example Spam comments/post visions) you can click the Advanced Options tab and eliminate them (since it’s most of the time useless data):
Once you’ve accomplished this, you should have a nice export file on your computer (or other location):

3. Install the All-in-One WP Migration Plugin on your WordPress Website
Following the same instructions as above, you’ll install the All-in-One WP Migration Plugin inside WordPress of your new web host:
To do this, login to your wp-admin and go to Plugins -> Add New:
Once here, type in All-in-One WP Migration Plugin and press enter. You can then click Install Now:
Once installed, you have to Activate it:
4. Import your exported WordPress Website to your new website
You’re now ready to import your website.
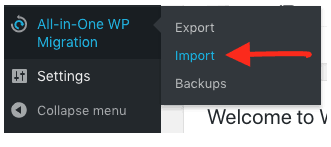
On the side menu, hover over All-in-One WP Migration and click Import:
This will bring up a screen where you can simply drag the export file of your website into the upload area and it will begin the import process:

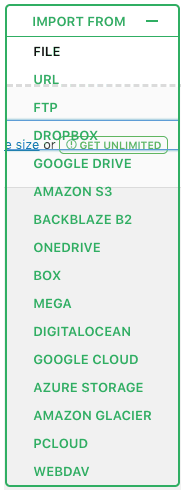
If you used another option (such as FTP or DropBox) you’ll need to click Import From, select that option, and install the appropriate plugin:
Attention: If you cannot import your exported file, please check the following points:
- Make sure that you import the correct exported file;
- If the upload file size is higher than the limit (128 Mb), you need to by All-in-One WP Migration Unlimited Extension and update it to the newest version.
- Update All-in-One WP Migration Plugin (and All-in-One WP Migration Unlimited Extension) to the newest versions.
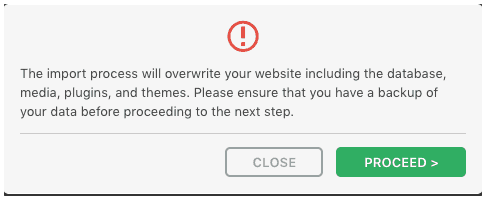
You will then follow the Import wizard:
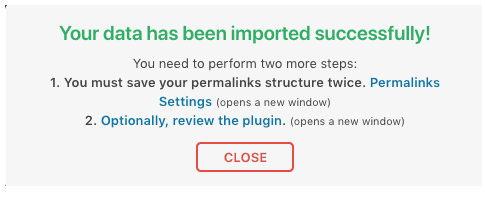
Once complete, you’ll get a success box such as this:
Good luck!